
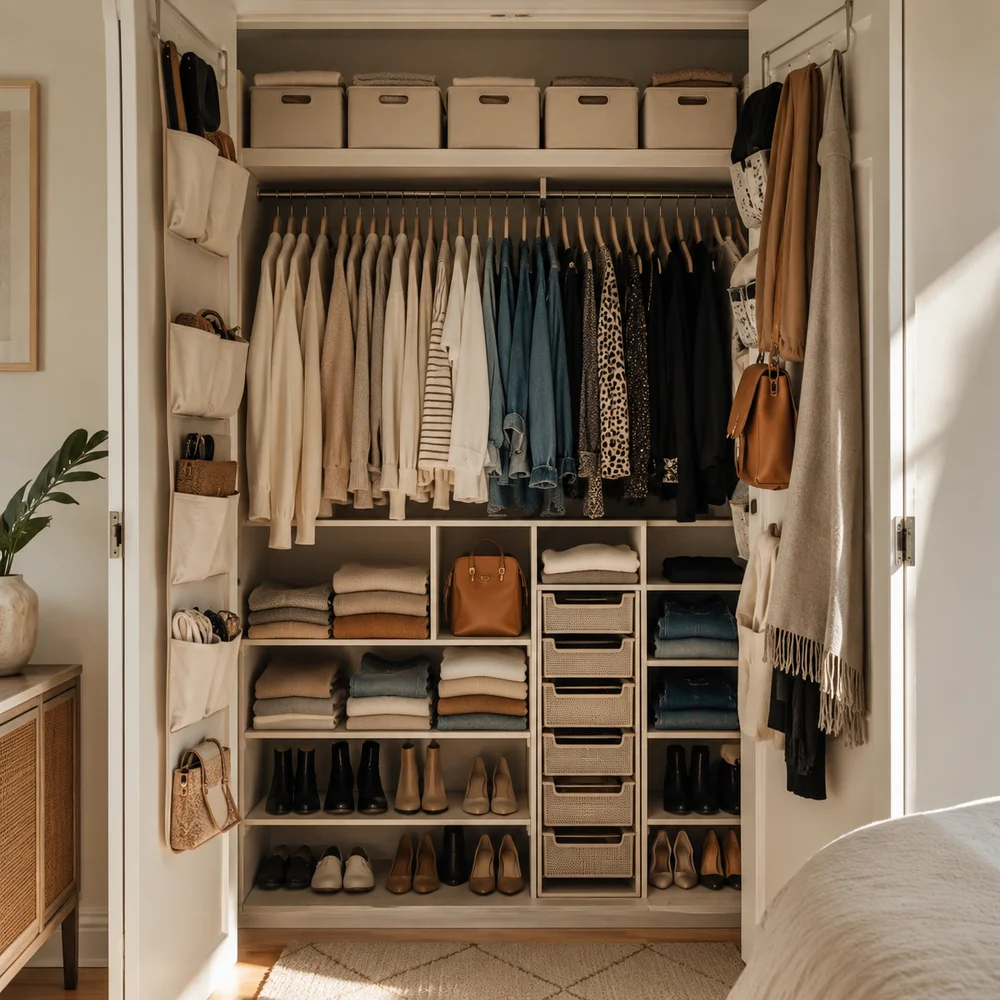
How to Master Space-Saving Closet Hacks in Any Small Room Right Now
By Emily | July 3, 2026
You’ve probably stood in front of your closet, door wide open, wondering how something so small could feel so impossible. Clothes crushed together, shoes stacked in precarious towers, and somehow still nothing to wear. It’s not that you own too much — it’s that the space was never taught how to work for you. Most small closets aren’t actually small; they’re just badly organized, and that distinction changes everything about how you approach the problem.
The instinct is usually to blame the square footage, but square footage was never really the enemy. Vertical space sits unused above your hanging rod. Door backs stay blank. The floor beneath hanging clothes becomes a graveyard for shoes and bags nobody can reach. Once you stop thinking of your closet as a fixed box and start thinking of it as a three-dimensional system, the “small closet problem” starts looking a lot more solvable than it did five minutes ago.
This guide walks through eight practical, renter-friendly hacks that don’t require construction, permits, or a weekend of demolition. Each one targets a specific kind of wasted space — corners, doors, floors, shelves — and gives you a concrete way to reclaim it using tools and furniture you likely already have access to. These aren’t Pinterest fantasies; they’re tested methods real organizers use in real apartments.
Read through all eight, but don’t feel obligated to install every single one this week. Pick the two or three that match your actual closet’s shape and your actual frustrations, test them, and build from there. Space-saving is rarely about doing everything at once — it’s about identifying your biggest pain point and solving it first, deliberately, without overcomplicating the process.
1. The Tension Rod Trick: Instant Shelves and Dividers Without Tools

 Save it
A tension rod is one of the cheapest, most underrated tools in small-space organizing, and most people only ever use it for curtains. Installed horizontally inside a closet, it becomes an instant shelf divider, a place to hang folded jeans over the bar, or a barrier that keeps stacked sweaters from toppling sideways. No screws, no drilling, no commitment — just tension and friction holding it firmly in place between two walls or shelf sides.
The mechanism is refreshingly simple: you twist the rod to extend it slightly past the width of the space, then release it so the spring-loaded tension presses the rubber-capped ends against both surfaces. This creates enough grip to hold moderate weight without slipping. Use one horizontally at the top of a shelf to create a second-tier storage zone for out-of-season handbags, or vertically to split a single cubby into two narrower compartments for shoes.
Not every tension rod needs to be a shelf. Thinner versions work beautifully as makeshift scarf or belt organizers, hung with S-hooks looped over the bar. If your closet has an awkward gap between two fixed shelves — too tall for one stack, too short for two — a tension rod bridges that exact dead zone and turns wasted vertical inches into usable storage without any permanent alteration to the closet itself.
Picture a narrow rental closet with a single shelf sitting nearly two feet above the hanging rod. That gap usually collects loose, sliding sweaters. Add a tension rod a few inches below the shelf, drape a set of canvas hanging bins over it, and suddenly that dead air becomes four organized compartments for out-of-season knitwear.
This is the broader lesson tension rods teach: not every storage solution needs to be permanent or expensive to be effective. Some of the most useful upgrades in a small closet are the ones you can install in under a minute and remove just as quickly when your needs change, which matters enormously if you’re renting or simply not ready to commit to a full closet system overhaul.
2. The Dead Corner Fix: Turning Wasted Angles Into Working Storage
 Save it
Every closet has at least one corner that nothing quite fits into — too narrow for a full shelf, too awkward for a hanging rod, so it just collects dust and forgotten items. This dead zone is one of the most consistently wasted areas in small closets, and it’s rarely addressed because standard shelving units are built for straight walls, not the odd geometry that corners create. Solving it requires thinking laterally instead of just vertically.
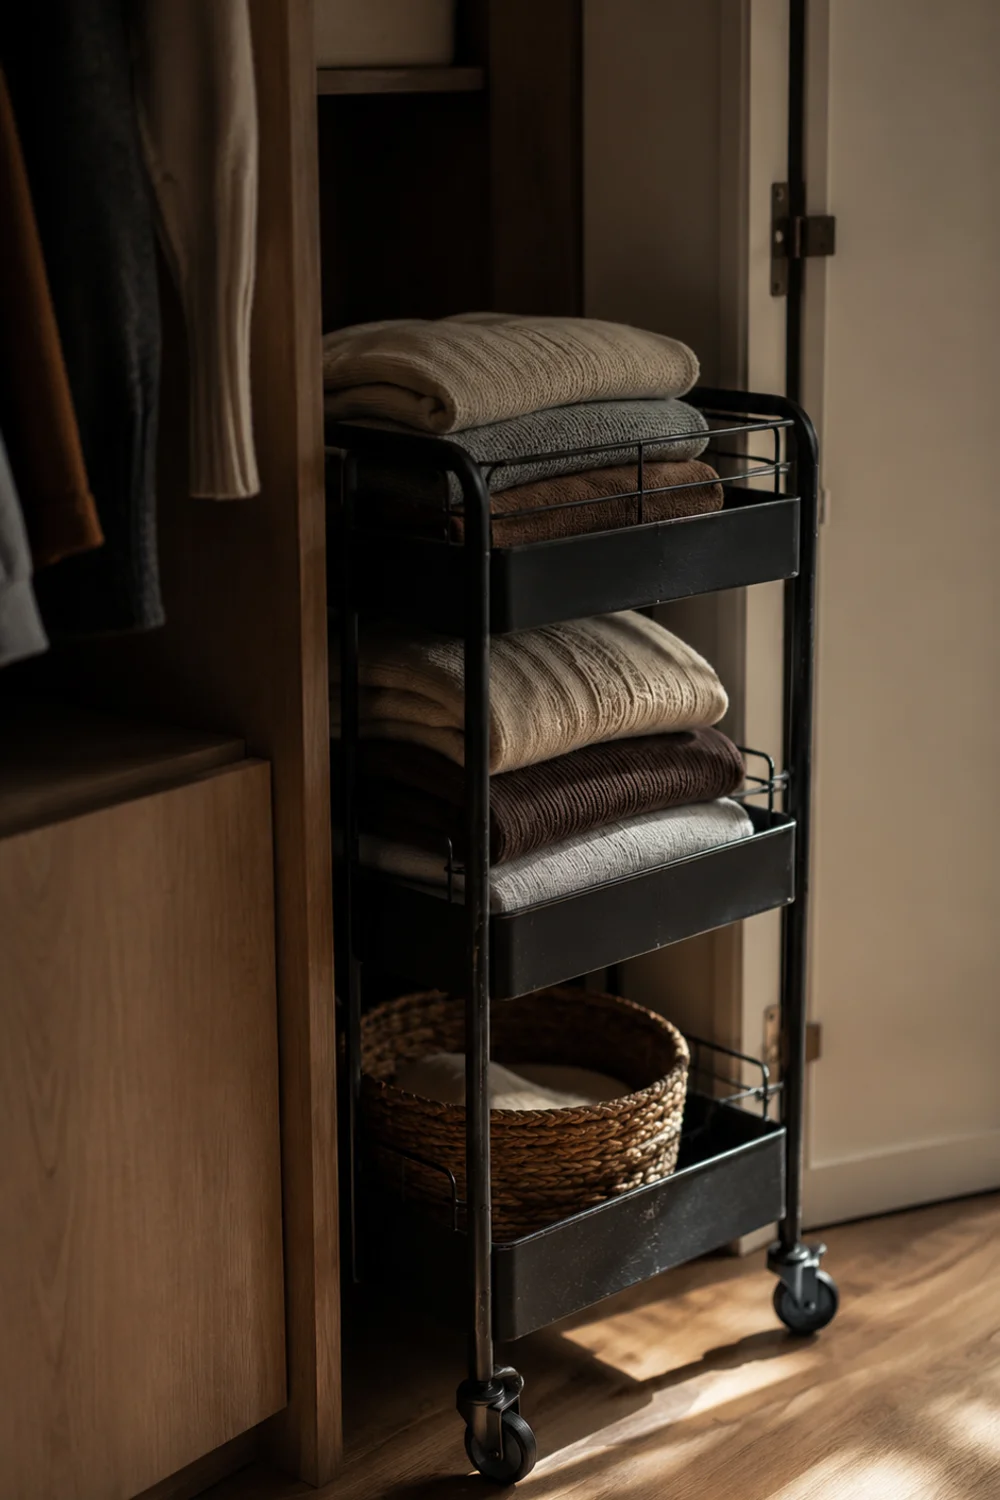
The fix usually comes down to corner-specific hardware: a slim rotating caddy, a triangular shelf insert, or a narrow rolling cart sized specifically to slide into that leftover angle. These pieces are designed to exploit exactly the kind of space regular furniture ignores. A rotating corner caddy, for instance, lets you spin stored items toward you instead of reaching blindly into a gap you can barely see into, which makes the space genuinely usable rather than just technically filled.
If your corner is too shallow even for a caddy, consider hooks instead of shelving. A row of small adhesive hooks mounted vertically up the corner seam can hold belts, jewelry pouches, or a hanging shoe organizer without needing any floor footprint at all. This works particularly well in reach-in closets where the corner meets a wall rather than another shelf unit, giving you a genuinely blank vertical surface to work with.
Imagine a reach-in bedroom closet where the back corner sits behind the door swing, permanently ignored because nothing seems to fit there. A narrow three-tier rolling cart, only eight inches deep, slides into that exact gap and holds folded loungewear that used to live in an overflowing drawer. This overlaps beautifully with the ideas in The Best Aesthetic Closet Storage Ideas for Small Bedrooms, which explores similar corner-first thinking for compact bedroom layouts.
Corners are a good reminder that small closets rarely lack space entirely — they lack space shaped like standard furniture. Once you start measuring your actual dead zones instead of assuming a corner is unusable, you’ll likely find two or three of them throughout your home that have been quietly going to waste for years.
3. Bed Risers and the Hidden Floor: Reclaiming the Space Beneath Furniture
 Save it
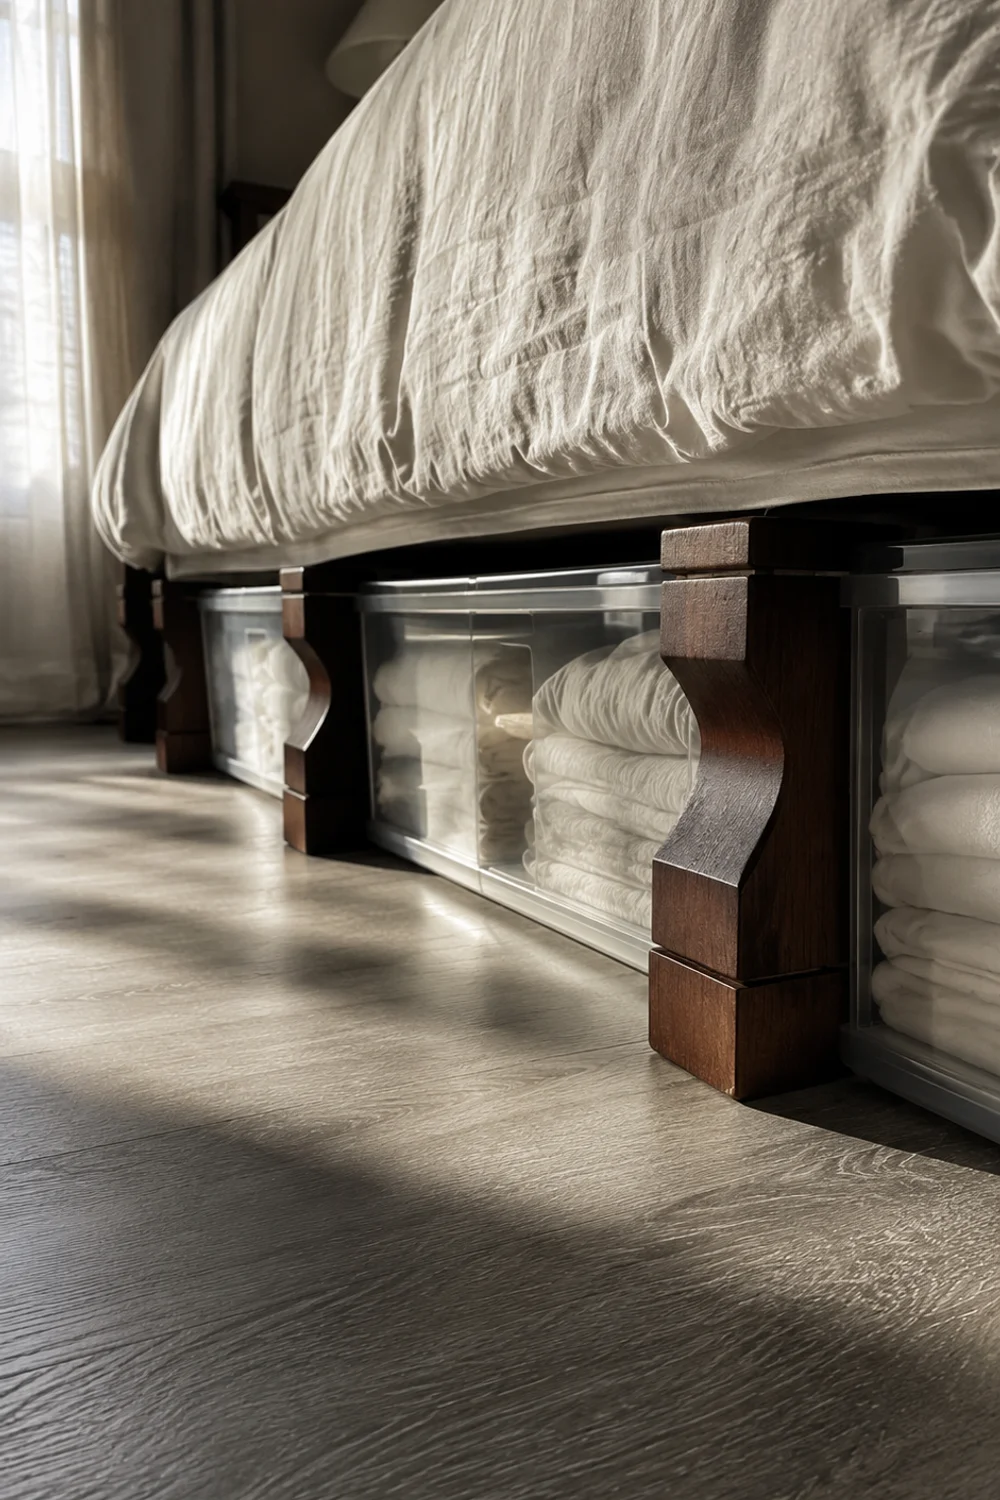
Bed risers are typically marketed as a bedroom hack, but their real value shows up the moment you realize how much vertical clearance they add beneath furniture that already sits close to a closet. Raising a bed frame, dresser, or even a low bench by four to six inches creates an entirely new storage layer underneath — one that’s often deep enough for flat bins, seasonal linens, or off-season shoes that don’t need daily access.
The mechanism is mechanically simple but spatially transformative: risers slot beneath existing furniture legs, lifting the entire piece just enough to slide low-profile bins in and out without straining. Unlike built-in drawers, this doesn’t require any carpentry or furniture modification, and it works on nearly any leg style, from tapered wood to simple metal frames, as long as the base is stable and the weight distribution stays even.
Not every under-furniture gap needs risers, though. Some furniture — particularly platform beds or low benches — already sits close enough to the floor that low, flat under-bed bins slide in without any lift at all. In those cases, the real upgrade is simply choosing bins shaped for that exact clearance instead of generic storage boxes that won’t fit the gap you actually have.
Picture a studio apartment where the closet is too small for winter coats and bedding both. Four wooden bed risers lift the bed frame by five inches, and two long, flat bins now slide beneath it holding folded comforters that used to crowd the closet’s top shelf. This mirrors the space logic covered in Everything You Need to Know About Organizing a Small Apartment Closet, which treats every surface in a small home as extended closet real estate.
The bigger principle here is that storage doesn’t have to live inside the closet at all. Once you start viewing the floor beneath your furniture as an extension of your closet system, you free up shelf and rod space for the items that genuinely need to be within easy reach, rather than forcing everything into one overstuffed box.
4. The Slide-In Wire Basket: Doubling Your Shelf Capacity Overnight
 Save it
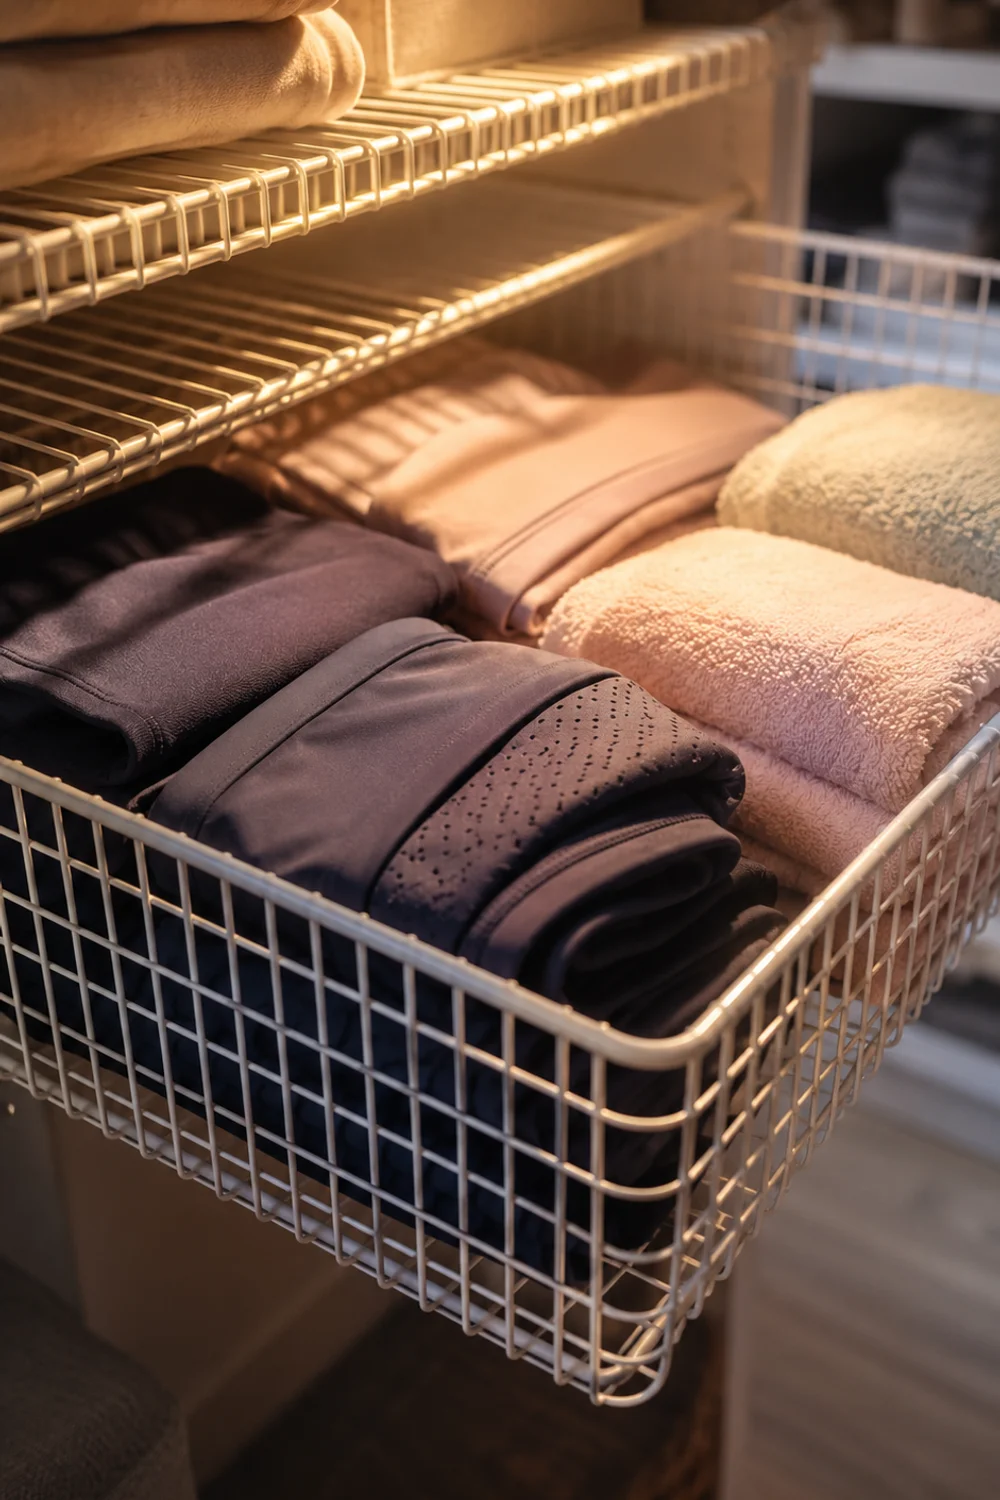
A single flat shelf is one of the least efficient storage surfaces in any closet, because it only uses the space directly on top of it and wastes everything above. Slide-in wire baskets solve this by adding a second usable layer beneath the existing shelf, essentially doubling the storage capacity of that section without removing or replacing anything already installed.
These baskets typically hang from the underside of a wire shelf using hook attachments that clip directly onto the shelf’s grid pattern, no tools required. Once secured, they create a slide-out drawer-like compartment perfectly suited for smaller, loosely grouped items — folded workout clothes, spare linens, or accessories that would otherwise slide around loosely on an open shelf and eventually end up in a messy pile at the back.
If your closet uses solid wood shelving instead of wire grid shelving, look for baskets designed with an over-the-shelf lip instead of hook clips; these rest on top of the shelf edge and hang down without needing the wire grid to grab onto. Some versions come with a pull-out drawer face, which makes contents easier to access without lifting anything off the shelf above.
Picture a linen closet with three wide wire shelves and painfully little depth-wise organization — towels stacked so high they topple when you pull one from the middle. Adding two slide-in wire baskets beneath the middle shelf creates a dedicated home for washcloths and hand towels, freeing the shelf above for the bulkier bath towels that were causing the avalanche in the first place.
This hack is a good example of how storage capacity isn’t fixed by shelf count — it’s determined by how many usable layers you create within the vertical space you already have. A closet with three shelves and six functional storage layers will always outperform one with five shelves and five wasted gaps above each.
5. Door-Back Real Estate: Turning a Blank Door Into a Second Storage Wall
 Save it
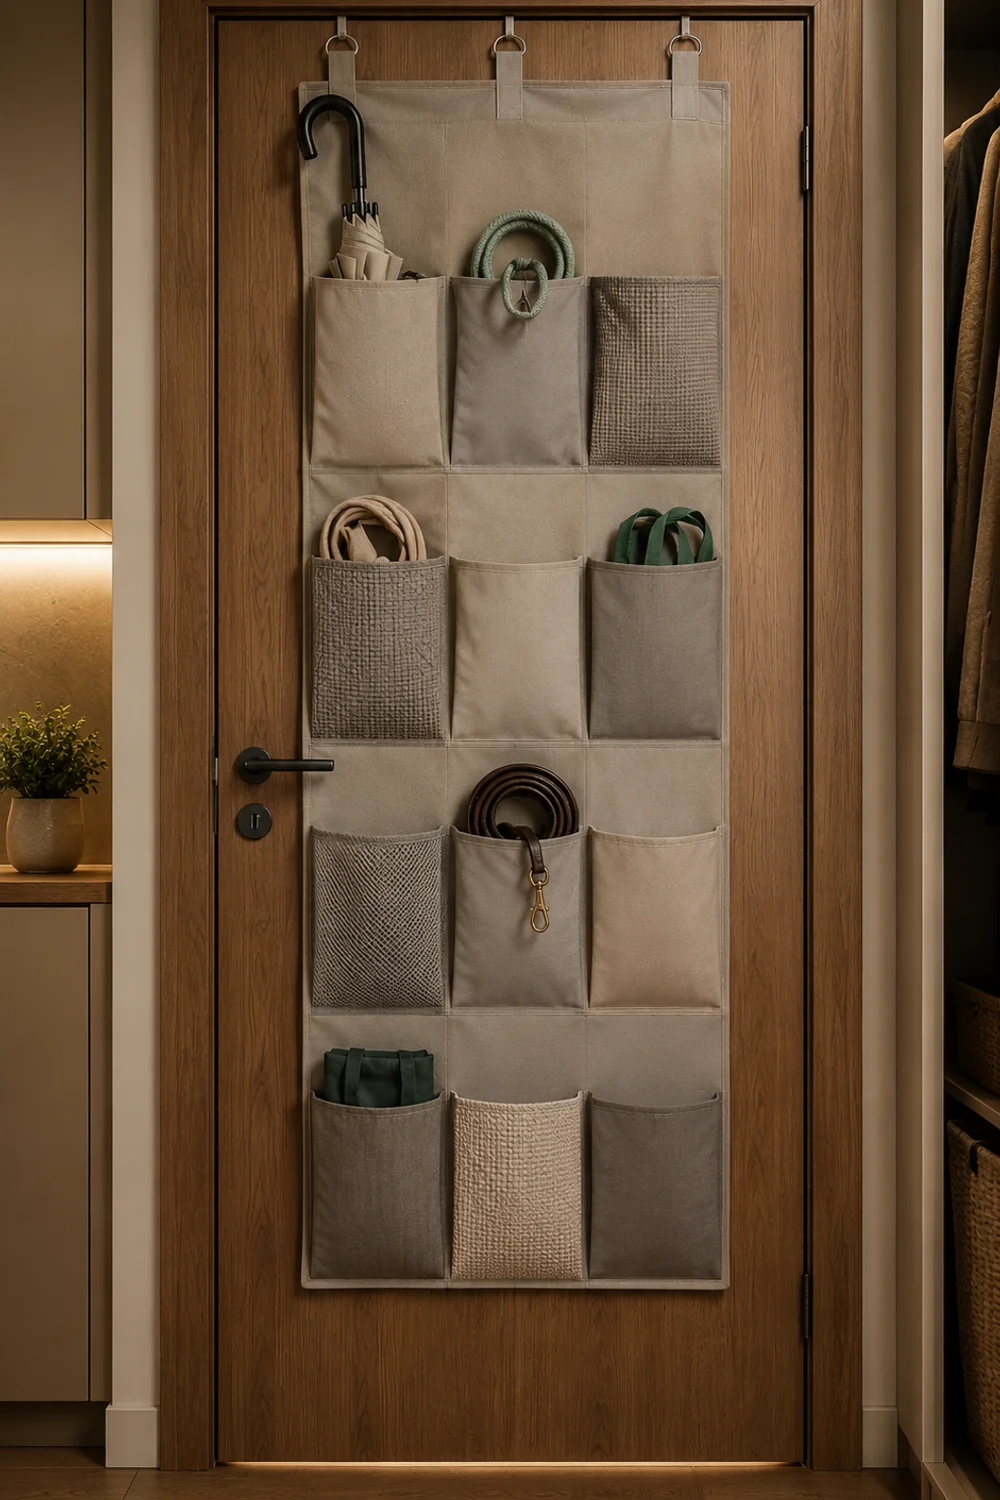
Closet doors are almost universally underused, treated as a barrier rather than a surface. Yet the back of a standard door offers several square feet of completely flat, completely accessible vertical space that most people never touch beyond maybe a single hook. Treating that door as a second storage wall, rather than empty real estate, can meaningfully offset the loss of a full shelving unit inside a tight closet.
The most common approach is an over-the-door organizer — a fabric or wire panel with multiple pockets or hooks that hangs from the top of the door using metal brackets, requiring no drilling or permanent hardware. These work particularly well for smaller, awkwardly shaped items: rolled scarves, cleaning supplies, jewelry, or shoes that don’t stack neatly elsewhere, giving each item its own visible slot instead of a shared bin.
Not every door hack needs pockets, though. A row of adhesive hooks arranged in a grid pattern can hold bags, hats, or robes without any bulky organizer at all, which keeps the door’s profile slim enough that it still closes fully. This matters more than people expect — a bulky over-door organizer can prevent a door from shutting flush against the frame, especially in shallow closets.
Picture a hallway coat closet where umbrellas, dog leashes, and reusable shopping bags used to pile onto the floor because there was nowhere else for them to go. A twelve-pocket over-the-door organizer solves all three problems at once, and pairs naturally with the shoe-specific strategies in Stunning Shoe Storage Ideas for Small Spaces That Look Amazing, since several pockets end up holding rotating pairs of daily shoes instead of clutter.
Doors are proof that “small closet” often really means “underused closet.” The square footage inside the door frame is only part of the available surface — the door itself, ignored for years, can quietly absorb an entire category of clutter once it’s finally put to work.
6. The Repurposed Furniture Hack: Turning a Bar Cart or Bookshelf Into Closet Storage
 Save it
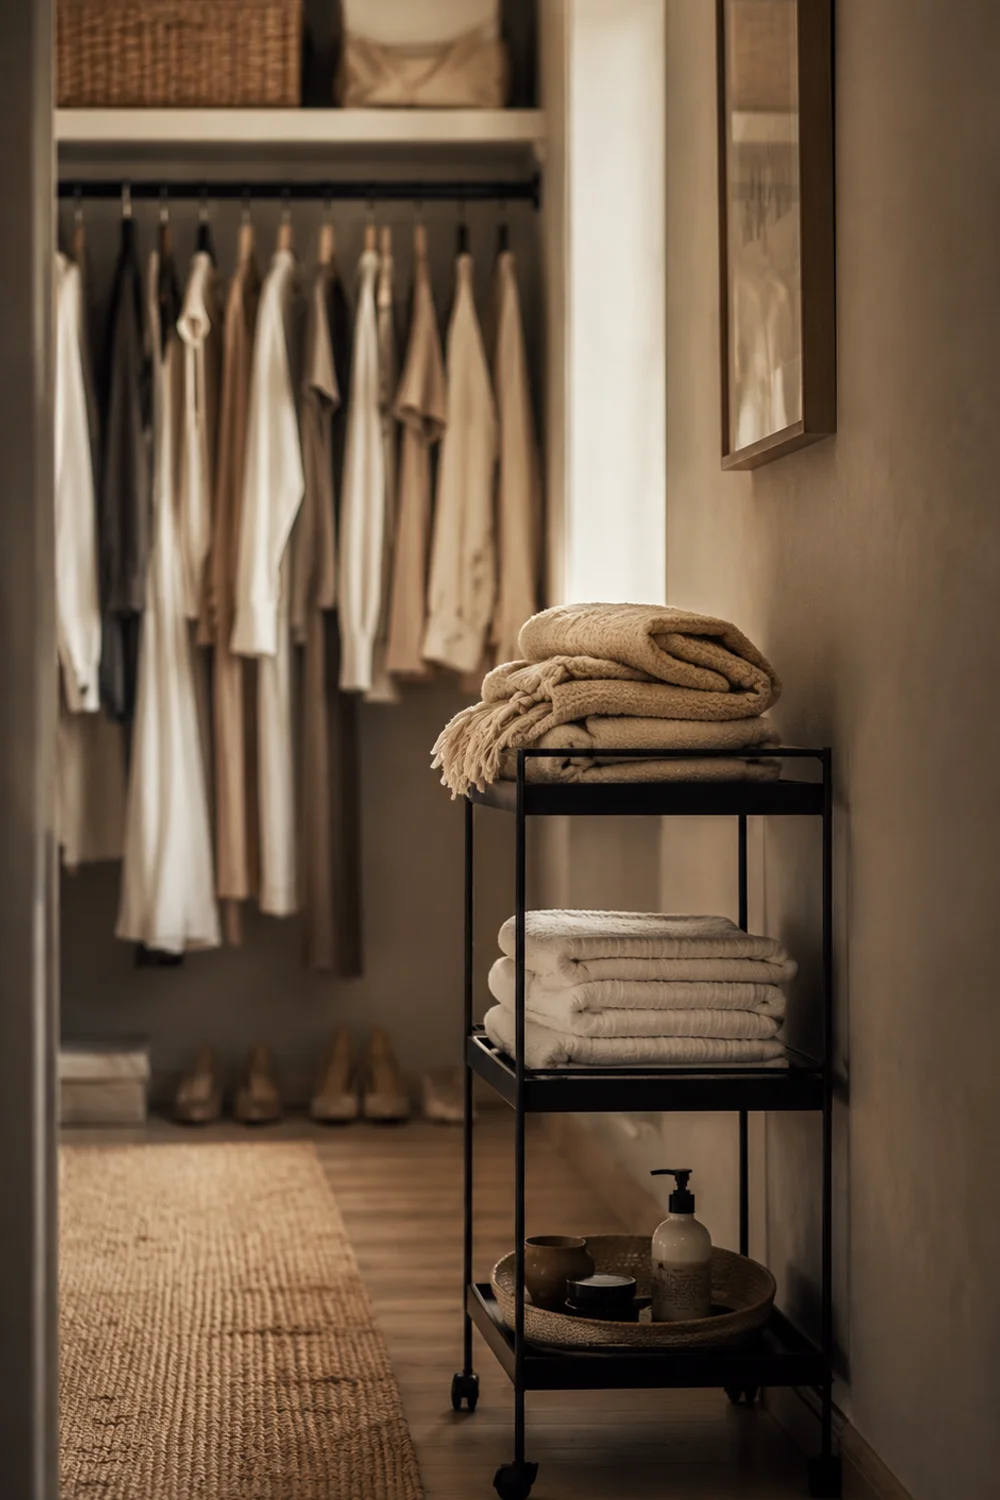
Not every closet solution needs to be purchased from an organization aisle. A narrow bar cart, an old bookshelf, or even a slim bathroom ladder can be repurposed as closet furniture, often fitting spaces that standard closet inserts were never designed for. This approach works especially well when a closet’s dimensions are unusual, since off-the-shelf organizing systems tend to assume a fairly standard rectangular footprint.
The logic behind repurposing furniture is proportional rather than categorical: you’re not looking for something labeled “closet organizer,” you’re looking for something whose width, depth, and shelf spacing happen to match your gap. A bar cart’s tiered shelves and wheeled base, for example, translate surprisingly well into a rolling accessory station for folded sweaters, handbags, or a stack of shoeboxes, and the wheels make it easy to pull forward for full access.
A slim bookshelf offers a different advantage: fixed, evenly spaced shelves that suit uniform stacks of folded clothing far better than a single deep closet shelf, which tends to encourage messy, leaning piles. If the closet has enough depth, sliding a narrow bookshelf against the back wall, perpendicular to the hanging rod, adds several new shelf surfaces without touching the closet’s existing structure at all.
Picture a guest room closet that’s oddly deep but barely used for hanging clothes. A secondhand three-tier bar cart rolled into that unused depth now holds folded throws, a stack of guest towels, and a small tray of extra toiletries, freeing up drawer space elsewhere in the house. This same instinct — repurposing furniture instead of buying single-use organizers — echoes the philosophy explored in 11 Stunning Open Closet Styling Ideas Worth Copying Right Now.
The bigger takeaway is that closet organization doesn’t require closet-branded products. Once you start evaluating furniture by its actual dimensions and shelf spacing rather than its intended use, you’ll find far more candidates for closet duty than any single-purpose organizer aisle could ever offer.
7. Multi-Purpose Furniture: Ottomans and Benches That Store More Than They Show

 Save it
An ottoman or storage bench placed just outside — or even inside — a closet solves a problem most small spaces struggle with: where do you put the items you need occasionally but not daily? Rather than cramming those things onto an already crowded shelf, a hollow-bodied ottoman gives them a dedicated home that also doubles as seating, which matters enormously in a bedroom where floor space is already tight.
The mechanism is straightforward: the seat lifts on a hinge or lifts off entirely, revealing an enclosed cavity typically deep enough for folded blankets, out-of-season shoes, or an overflow bin of accessories. Because the storage is hidden beneath upholstery, it never contributes to visual clutter the way an open shelf does, which makes it particularly useful for items you don’t necessarily want on display, like off-season boots or spare hangers.
Bench-style storage furniture offers a slightly different advantage over ottomans: a horizontal lid that opens flat, rather than a single lift-off seat, which makes it easier to see and access everything inside at a glance instead of digging blindly. This works especially well positioned directly beneath a closet’s hanging rod gap, transforming unused floor space at the base of a shorter hang zone into functional storage that still looks intentional.
Picture a small bedroom where the closet’s hanging rod only reaches halfway down, leaving two feet of empty floor space beneath shorter garments. A low storage bench slides into that exact gap, holding folded sweaters while doubling as a spot to sit and tie shoes each morning — solving a storage problem and a functional one simultaneously, without adding a single new piece of furniture to the room’s footprint.
This hack reinforces a theme that runs through nearly every entry on this list: the best small-space solutions rarely announce themselves as storage. They double as something else entirely — seating, styling, decor — which means the room never feels like it’s straining under the weight of its own organization system.
8. The Vacuum-Seal Shortcut: Instantly Shrinking Bulky Seasonal Items
 Save it
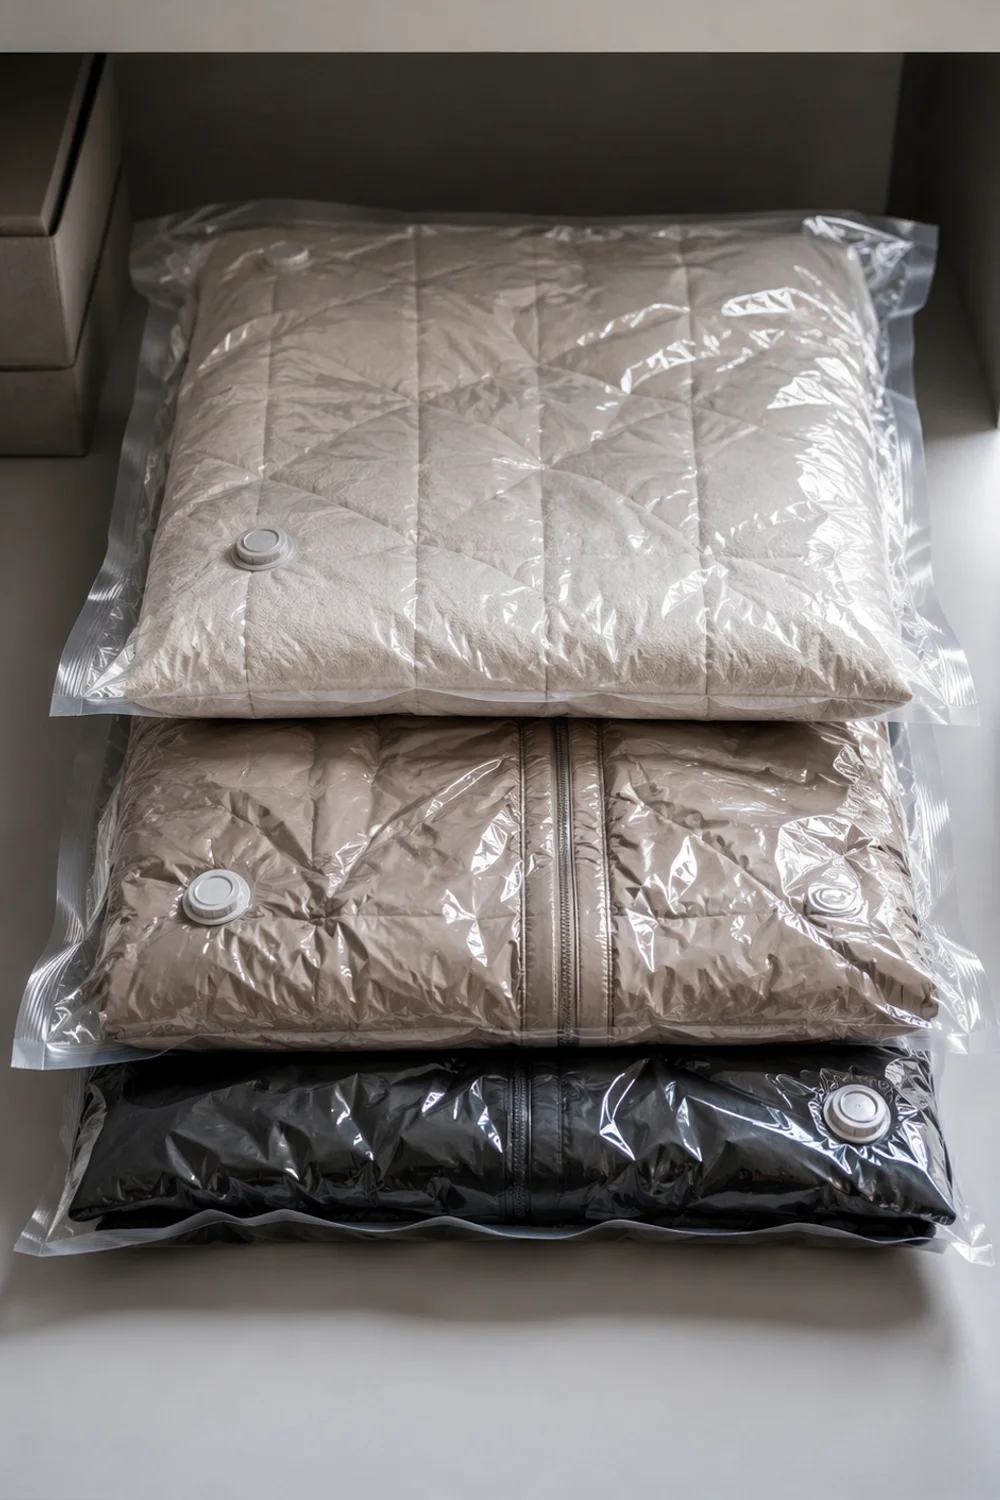
Bulky seasonal items — winter coats, comforters, out-of-season bedding — are consistently the biggest offenders when it comes to eating up closet volume, and most people store them exactly as they’d wear them: fully lofted, taking up every cubic inch of trapped air inside the fabric. Vacuum-seal storage bags remove that trapped air entirely, shrinking the same items down to a fraction of their original size without damaging the fabric.
The process itself takes only a few minutes: items go into a heavy-duty plastic bag with a one-way valve, and a household vacuum attachment sucks the air out through that valve, compressing everything into a flat, dense package. Because the air is removed rather than the material itself compressed by force, delicate items like down comforters typically bounce back to their original loft once unsealed, making this a safe option for higher-value bedding and outerwear alike.
Not every fabric benefits equally from vacuum sealing, though. Stiff or structured items — blazers, tailored coats, anything with shoulder padding — can develop stubborn creases under prolonged compression, so this hack works best for soft, pliable textiles rather than structured outerwear. For those pieces, a breathable garment bag is the better long-term solution, even though it won’t shrink the item’s footprint the way a vacuum bag does.
Picture a small closet in early autumn, still packed with last year’s oversized comforter and three puffer jackets nobody’s worn in months. Vacuum-sealing the comforter alone frees up nearly a full shelf, and pairs naturally with the seasonal rotation habits covered in What Professional Organizers Really Use for Seasonal Closet Organization Success, which goes deeper into rotating stored items throughout the year.
The larger lesson from vacuum sealing is that not all clutter is really about quantity — sometimes it’s about trapped, unnecessary volume. Removing that volume, rather than removing the items themselves, can free up more usable closet space in an afternoon than an entire weekend of decluttering ever could.
Common Mistakes to Avoid
1. Buying organizers before measuring the space
People fall in love with a storage product online, purchase it, and only then discover it doesn’t fit the shelf depth, door width, or corner angle they intended it for. Always measure the exact gap first, including depth and any obstructions like door hinges or baseboards, before adding anything to a cart.
2. Stacking baskets and bins too high
A tall stack of bins looks organized in photos but becomes genuinely unusable once you need the item at the bottom. Anything stacked more than two containers high should hold things you rarely need, not daily essentials, or you’ll find yourself unstacking the whole tower every morning.
3. Ignoring door clearance
Over-the-door organizers, hooks, and hanging racks can all prevent a door from closing flush if they’re too bulky or mounted too low. Always test the door swing and full closure after installing anything on its back, rather than assuming it will fit.
4. Treating vertical space as optional
Many small closets are only using the middle third of their actual height, leaving both the floor and the area above the top shelf completely idle. Failing to add shelving, hooks, or bins in those zones is one of the most common reasons a closet still feels small after a partial reorganization.
5. Mixing storage systems with no visual logic
Combining wire baskets, cardboard boxes, and mismatched bins in the same closet creates visual chaos even when the organization itself is functional. Choosing one or two consistent materials, like matching woven bins or a single basket style, makes a small closet feel considered rather than improvised.
Frequently Asked Questions
Do these hacks work in rental apartments without damaging walls?
Yes, nearly every hack in this guide is designed around no-drill installation. Tension rods rely on spring pressure, over-the-door organizers hang from brackets over the door frame, and adhesive hooks use removable strips rather than screws. Bed risers, rolling carts, and storage ottomans require no wall contact at all, making this entire approach genuinely renter-safe from start to finish.
How much storage capacity can I realistically gain from these hacks?
It varies by closet, but most people see a noticeable difference after combining just two or three hacks. A slide-in wire basket alone can add roughly 30 percent more usable shelf capacity, while bed risers paired with flat bins can reclaim an entire extra shelf’s worth of floor storage without touching the closet itself.
Should I declutter before or after installing these hacks?
Declutter first whenever possible. Installing new storage solutions around items you no longer need or wear simply organizes clutter more neatly instead of removing it. A quick sort into keep, donate, and discard piles before you buy anything ensures the space you gain actually goes toward things you use.
Are vacuum-seal bags safe for delicate fabrics like cashmere or down?
Down items generally tolerate vacuum sealing well and regain their loft once unsealed, but delicate knits like cashmere can develop permanent creasing under prolonged compression. For those pieces, a breathable garment bag or a simple folded storage bin is the safer choice, even though it won’t compress the item’s overall size.
Final Thoughts
A small closet rarely needs more square footage — it needs a system that actually uses the footage it already has. Every hack in this guide targets a specific kind of wasted space: corners, doors, floors, and the air above your shelves. None of them require construction, and most can be completed in a single afternoon with tools you already own.
The real shift happens when you stop viewing your closet as one fixed container and start treating it as several smaller, layered opportunities. A tension rod here, a slide-in basket there, a repurposed bar cart in a dead corner — none of these changes alone will transform the space, but together they compound into something genuinely functional.
Start with whichever pain point bothers you most every single morning, solve that one first, and let the rest follow gradually. Save this guide for reference, and revisit it each season as your storage needs shift, because the best small-space systems are rarely finished — they’re simply adjusted as life changes around them.
This post contains affiliate links. I may earn a small commission at no extra cost to you.

Get cozy inspiration delivered to your inbox.
✓ 14-page beautifully designed ebook
✓ Cozy decorating ideas
✓ Practical room-by-room inspiration
You’re in! 🎉
Thanks for joining the NestFlowHome community!
Your free ebook is already on its way to your inbox. If you don’t see it within a few minutes, please check your Promotions or Spam folder.
Join the NestFlowHome community for weekly decorating inspiration.

Timeless home decor ideas and slow living inspiration for a calm, beautiful life.