10 Best Yoga Poses for Better Posture at Home
By Emily | March 25, 2026
Your spine is slowly losing the battle – every day it curves a little more toward the screen, your shoulders creep higher toward your ears, and one day you realize that back pain isn’t an occasional visitor anymore, it’s a permanent resident. Sound familiar? You’re not alone. One of the most insidious side effects of modern life is this creeping postural catastrophe that weaves itself into our daily existence as quietly as any bad habit.
This article is for you if you spend hours at a desk every day, if your neck and shoulders are constantly tense, or if you simply want to reclaim that straight, confident posture you once took for granted as a child. You don’t need an expensive gym membership, you don’t need to practice for hours, and best of all: you can rebuild your relationship with your body in the comfort of your own home, at your own pace.
In the following pages, I’ll walk you through ten yoga poses specifically designed to improve posture – but you won’t get dry descriptions. You’ll get real, practical knowledge. I’ll show you how to properly engage your muscles, which common mistakes to avoid, and how to integrate these movements into your daily routine so they actually work. The point isn’t the perfect pose – it’s conscious, consistent practice – and this article will be your companion in exactly that.
1. Mountain Pose (Tadasana) – The Invisible Foundation
 Save it
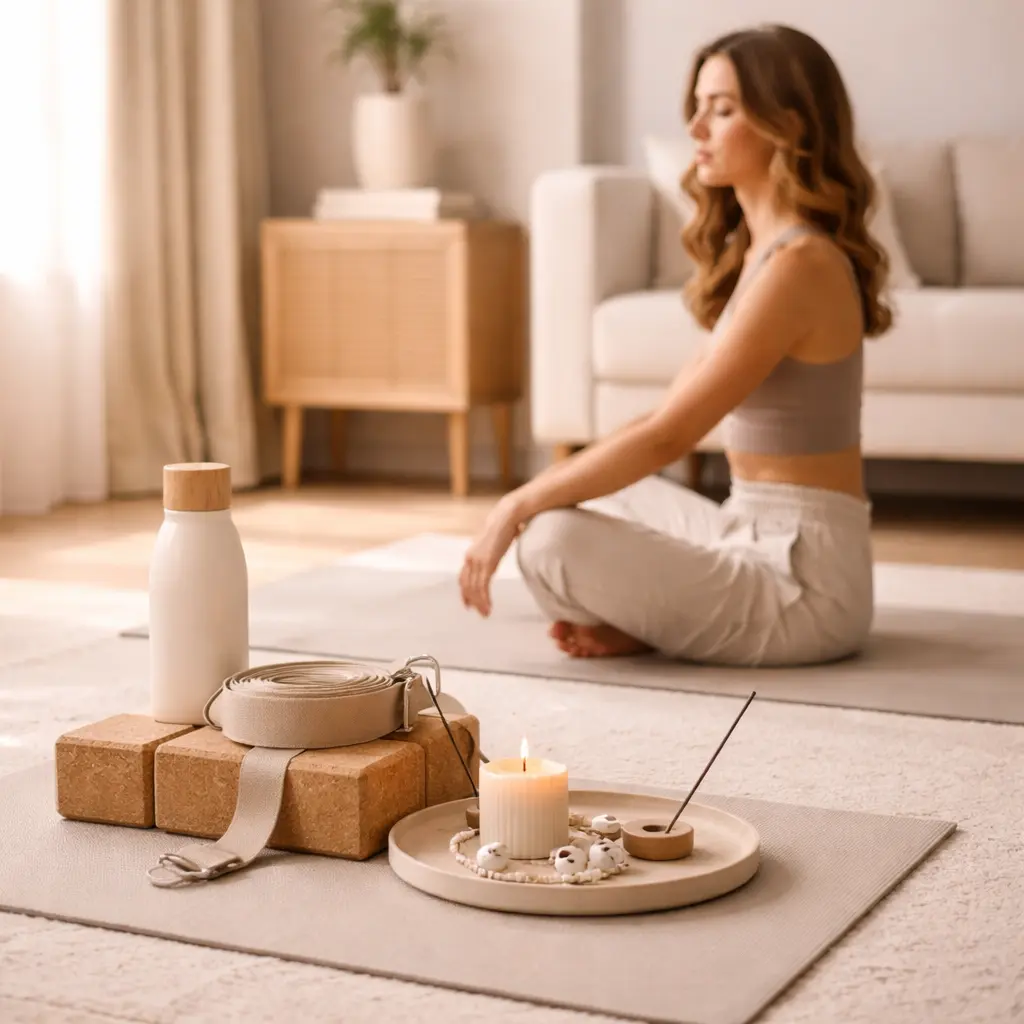
Before diving into practice, warming up isn’t an optional luxury – it’s a fundamental necessity. Cold muscles and joints are more vulnerable, less responsive to stretching, and your body awareness is diminished. Always start with five minutes of light movement: walk in place, release your shoulders with circular motions, rotate your wrists and ankles, do a few gentle side bends. This brief preparation primes your body for deeper work and mentally attunes you to the practice ahead.
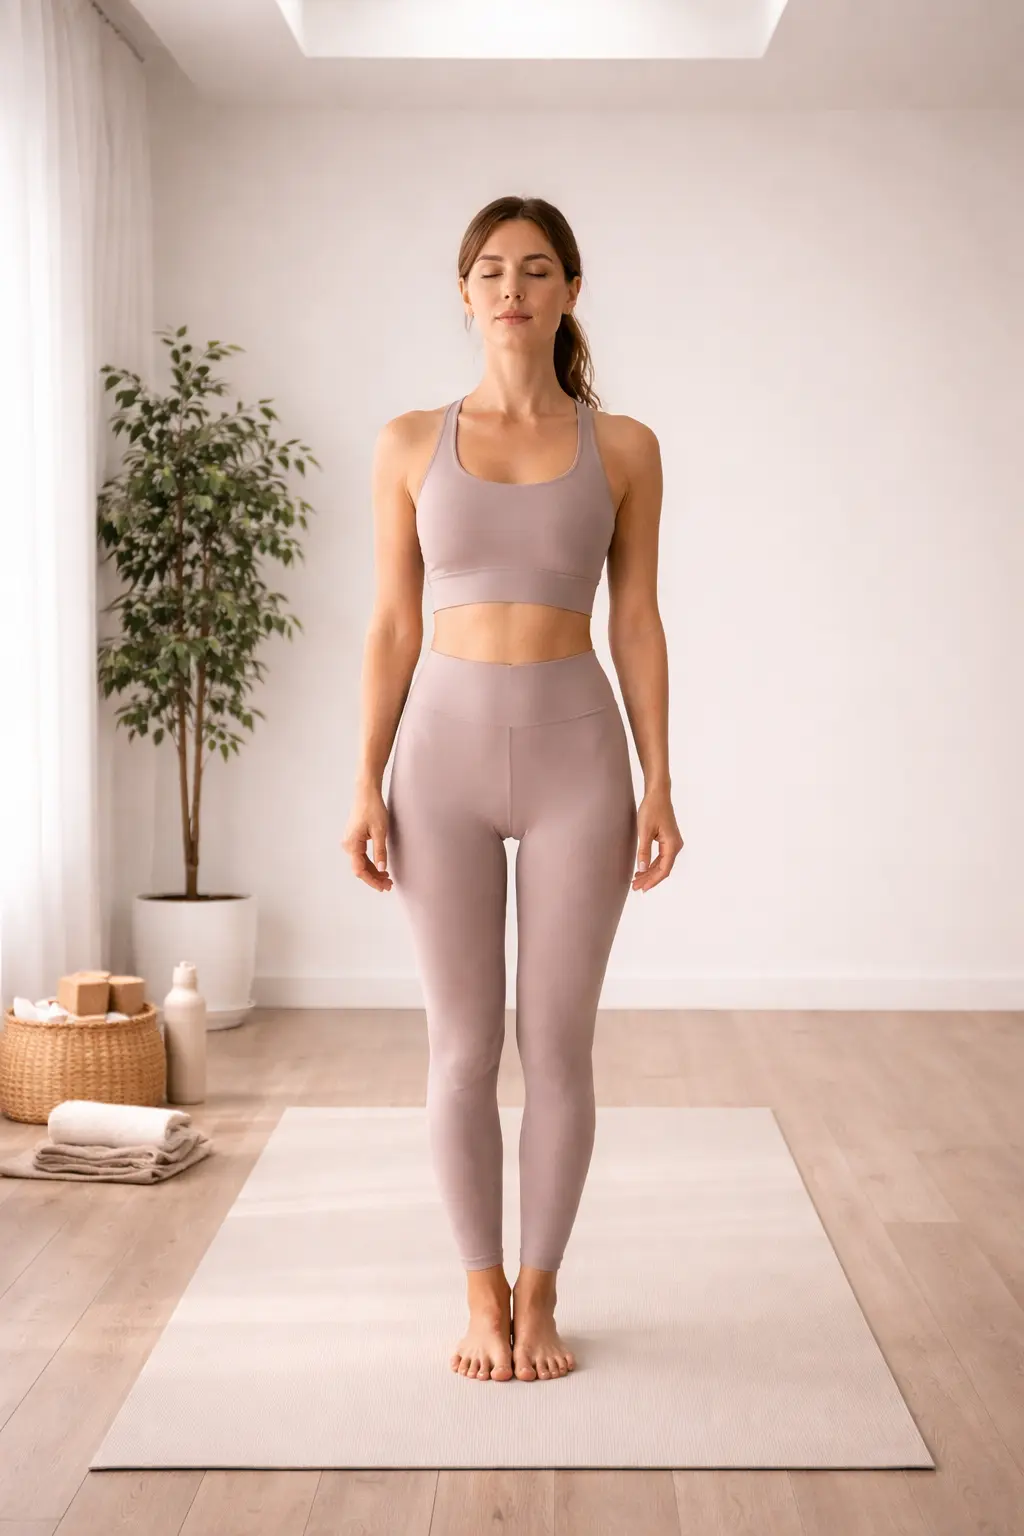
Mountain pose is the mirror that shows you how you hold yourself when you’re not paying attention. Many people dismiss this pose because “you’re just standing” – and that’s precisely the biggest mistake. Try it right now: stand up, bring your feet together, and just stand. You’ll probably notice that your weight shifts more to one leg, your shoulders roll forward, and your head juts out as if you’re perpetually staring at a screen.
The essence of Tadasana isn’t learning to stand – you already know how to do that – it’s re-learning. Your feet are parallel, your knees softly extended, your pelvis is neutral, your chest is open, your shoulders rest back and down, and the crown of your head reaches toward the ceiling as if an invisible string were pulling you upward. This is the pose you can practice multiple times daily: waiting for the subway, standing in line, in front of the elevator. It doesn’t require a mat, it doesn’t require time – just awareness. And as you become more familiar with your body’s baseline position, you’ll more easily notice when you deviate from it.
If you practice at home, a quality yoga mat helps your feet stay stable and prevents slipping. Proper grip matters because if your body is constantly compensating for an unstable surface, you can’t clearly feel correct alignment.
2. Cat-Cow Pose (Marjaryasana-Bitilasana) – The Spine's Morning Wake-Up Call
 Save it
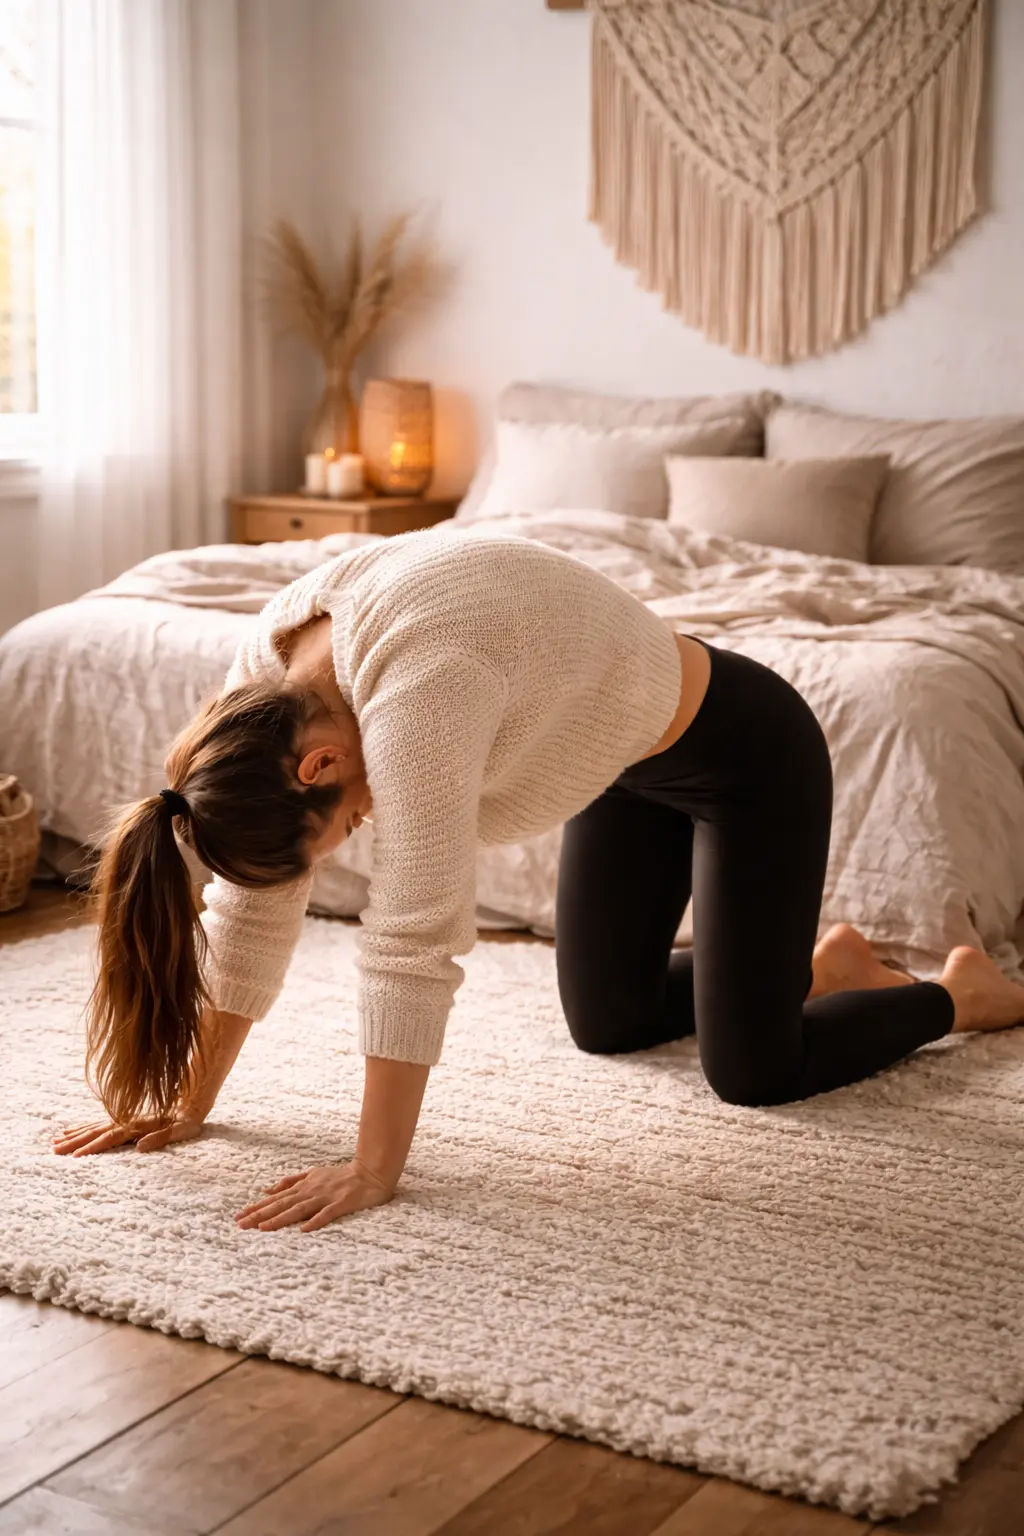
Imagine your spine as a long chain made of links – if one link gets stuck, the whole system suffers. The cat-cow pose moves through that stuck chain, segment by segment, carefully and controllably. This isn’t a flashy, social-media-ready pose – but it’s one of the most effective things you can do for your posture.
Get on all fours, hands under shoulders, knees under hips. On the inhale, let your belly drop toward the floor, lift your chest and crown – this is the cow phase. On the exhale, round your back, pull your belly in, let your head drop – this is the cat phase. The key isn’t the two endpoints, but the transition between them: how each individual vertebra moves separately. Focus on letting the wave of movement travel through the entire length of your spine, from the lumbar region to the neck.
In the morning, still sitting in bed or right after getting up, this sequence works wonders. It mobilizes the spine that stiffened overnight, awakens the spinal muscles, and helps you feel your body’s position better throughout the rest of the day. If you’re looking for Small Daily Habits That Lead to Big Life Changes that bring big change over time, this is one of the best investments in your health.
The pose is best done on a soft, cushioned surface, especially if your knees are sensitive. An extra-thick yoga mat protects your joints and makes practice more comfortable, allowing you to stay on your mat longer.
3. Downward-Facing Dog (Adho Mukha Svanasana) – Stretching the Entire Posterior Chain
 Save it
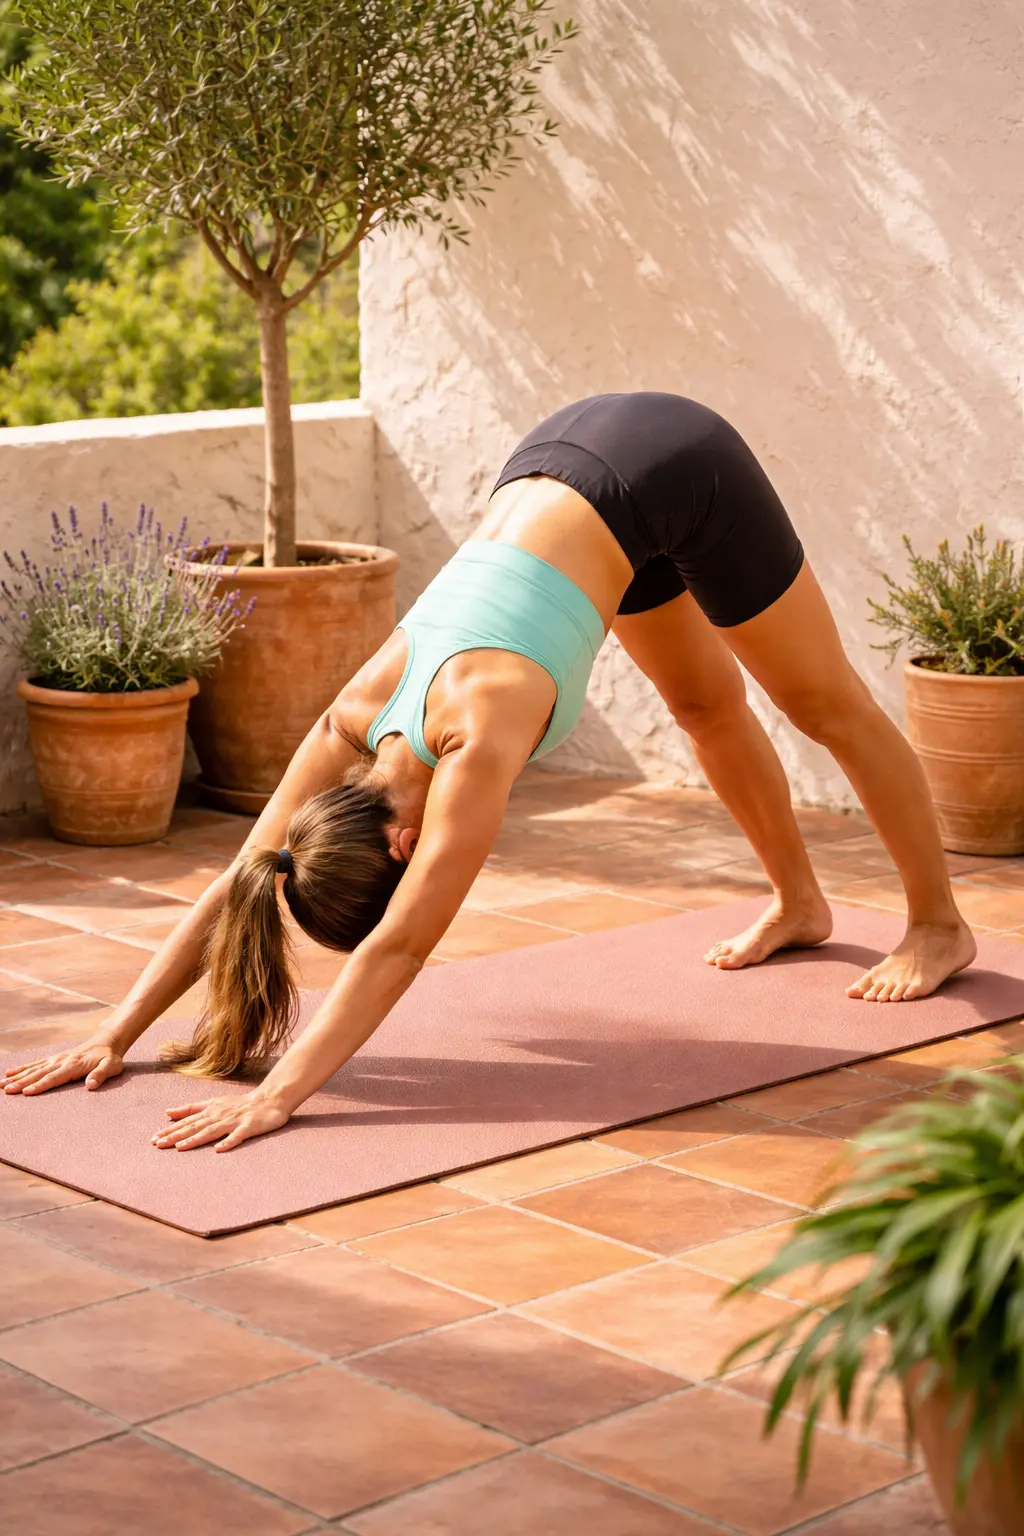
This is the pose everyone knows but few do correctly. Downward-facing dog isn’t about pushing your heels as close to the floor as possible – that’s the biggest misconception surrounding this classic yoga pose. The point is lengthening the spine and stabilizing the shoulders, not overstressing the hamstrings or achieving a photogenic end position.
Start on all fours, then tuck your toes and lift your hips toward the ceiling. Your body forms an inverted V shape – but the priority is always the spine. If your hamstrings are tight (and most desk workers’ are), bend your knees as much as needed to keep your spine straight. A bent-knee, straight-spine dog is better than a straight-leg, hunched-back version that brings no benefit to your posture.
Press your hands actively into the floor with spread fingers, distributing weight evenly across your palms and fingers. Pull your shoulders away from your ears, let your head hang loosely between your arms. Your weight is evenly distributed between hands and feet – don’t let all the load fall on your wrists. In this pose, you’re working most intensively on the shoulder girdle and upper back – exactly the area where the most tension accumulates from sitting at a desk. Hold the pose for five to ten breaths and notice how with each exhale you can sink deeper.
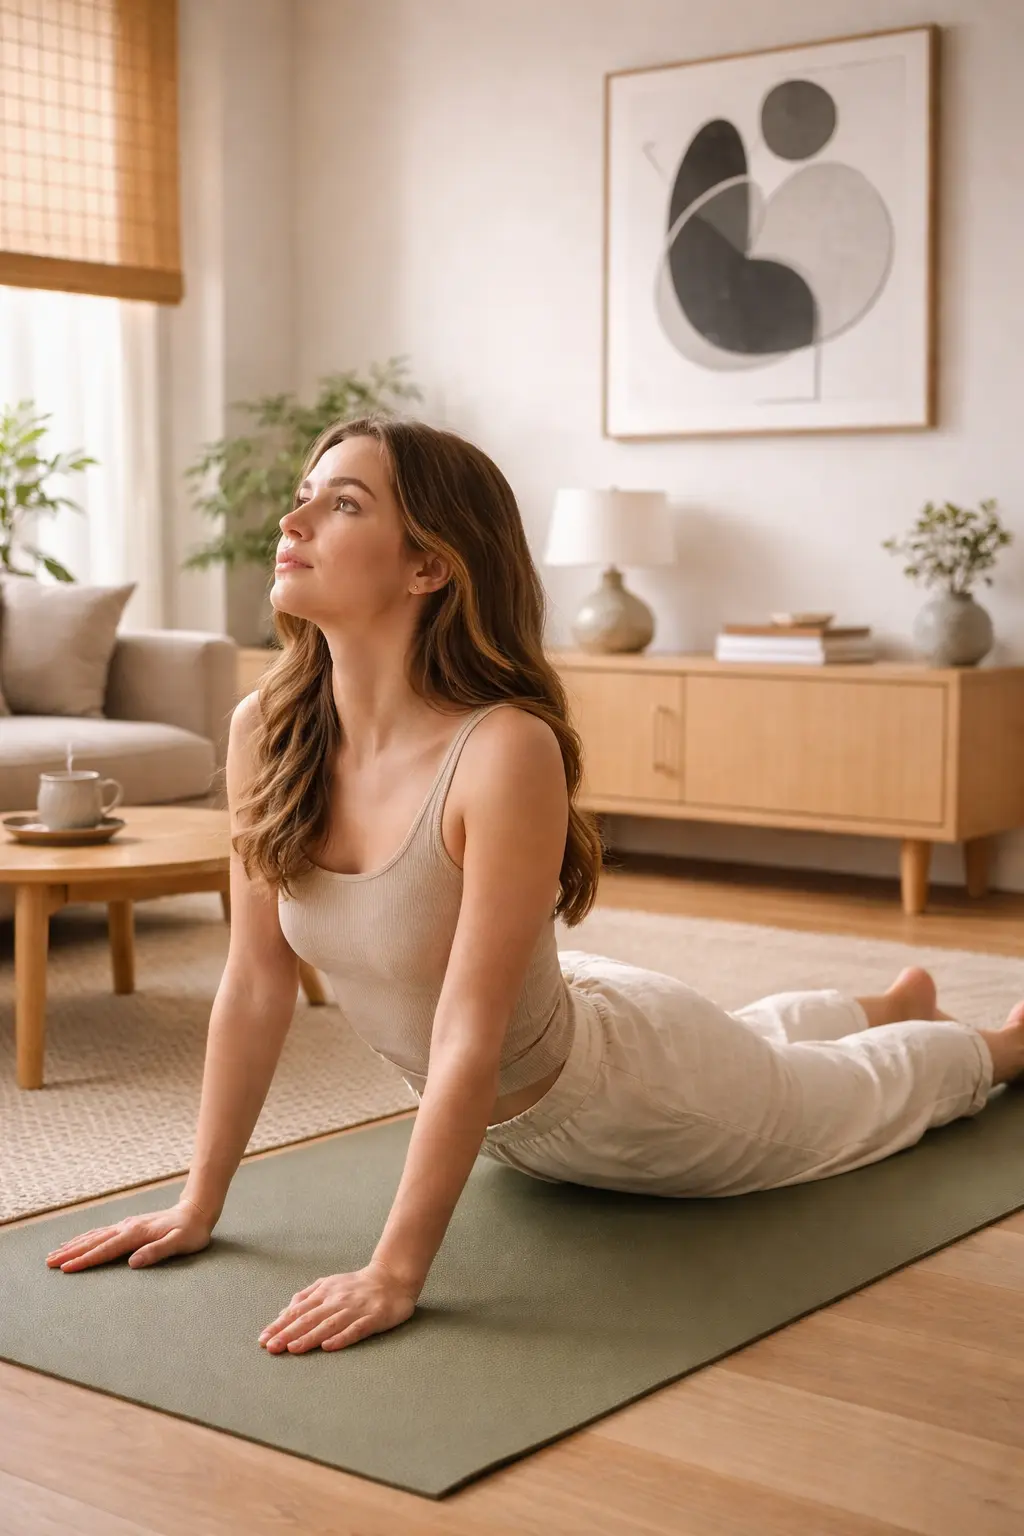
4. Cobra Pose (Bhujangasana) – The Key to the Chest
 Save it
One of the most telltale signs of poor posture is a closed chest – shoulders rolled forward and a collapsed sternum that becomes almost hardwired into your body’s default setting over the years. This isn’t just an aesthetic issue: a closed chest restricts breathing, reduces oxygen intake, and can even affect your mood and energy levels over time. Cobra pose opens precisely this closed area – gently, gradually, with respect for the spine.
Lie on your stomach, forehead on the floor, hands beside your shoulders on the ground, elbows close to your torso. On the inhale, lift your head and chest – but don’t push yourself up with arm strength; pull yourself back using your back muscles. The arms serve only as support; most of the work is on the spinal muscles. Elbows stay close to the torso, shoulders back and down, gaze forward and slightly upward.
The most important rule: don’t force it. If you feel pain in your lower back, you’ve gone too high, and your lower back is compensating for your chest. The low version, Baby Cobra, works perfectly and is much safer for beginners or those with tighter backs. The goal is to open your chest and activate your back muscles – not to rise as high as possible and take an impressive photo. Hold the pose for three to five breaths, then carefully lower down and repeat two to three times.
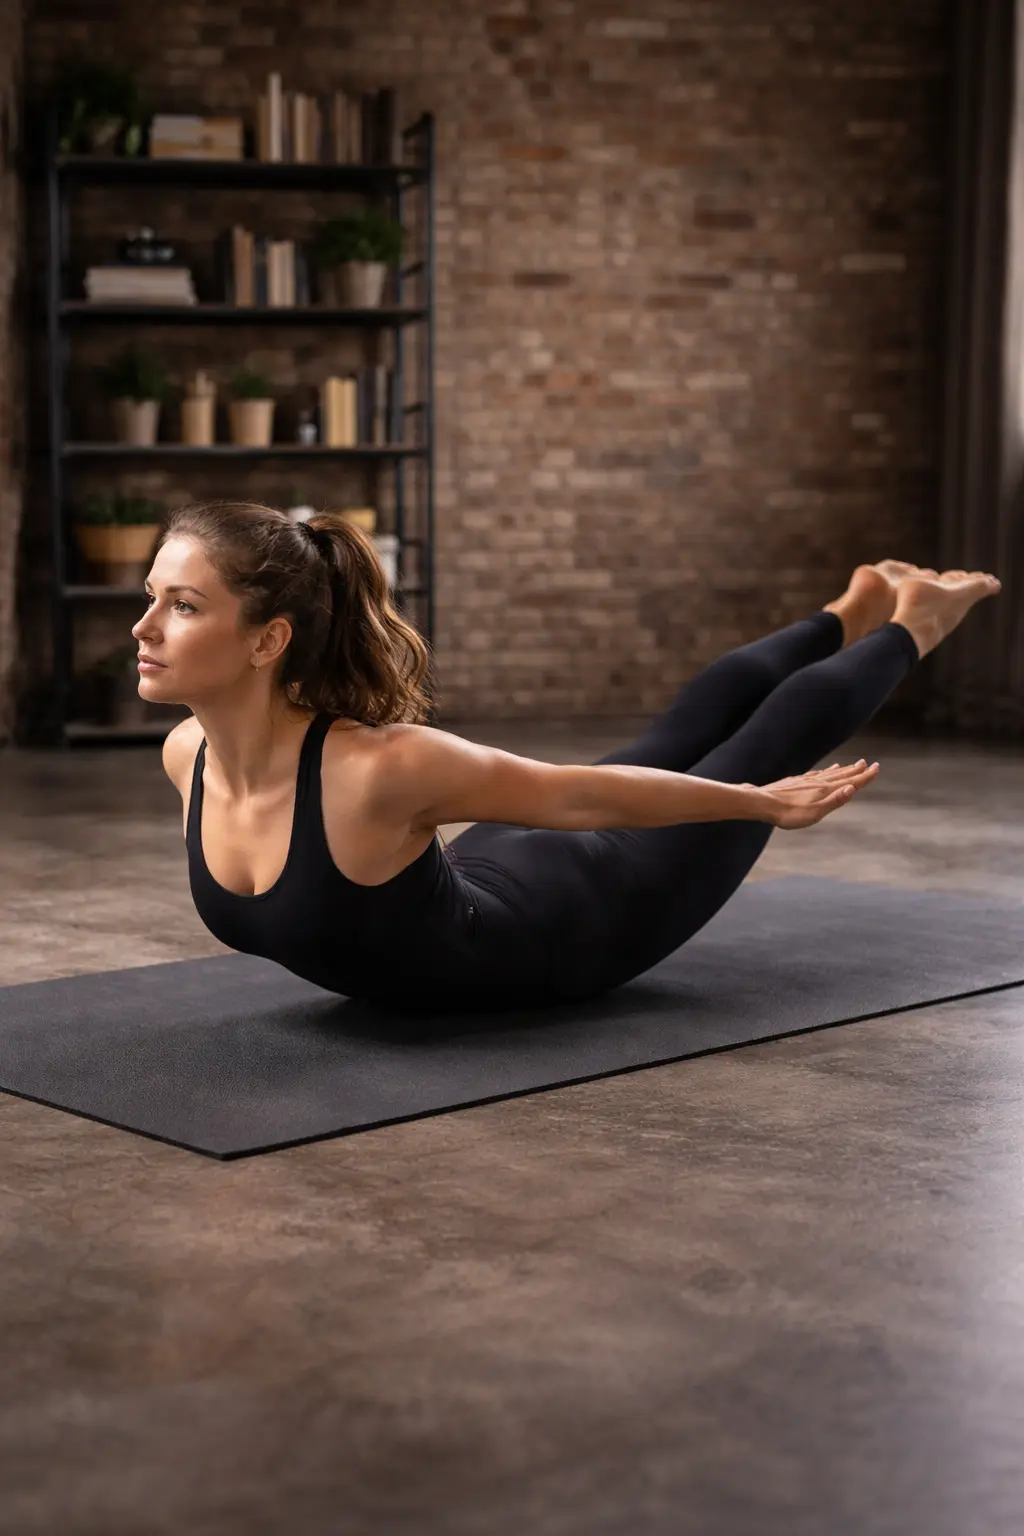
5. Locust Pose (Salabhasana) – Building Posterior Strength
 Save it
This is the pose that really shows how weak your back muscles are – and that’s exactly why it’s so important in your posture-improvement routine. Modern life strengthens the front of the body while completely neglecting the posterior chain muscles. We sit, bend, hunch, and the back muscles slowly forget how to work. Locust pose corrects this imbalance and restores strength to your back.
Lie on your stomach, arms alongside your body, palms facing up, forehead on the floor. On the inhale, simultaneously lift your head, chest, arms, and legs off the floor. Your gaze points forward and slightly down, your neck is a natural extension of your spine, not breaking backward or hanging down. Legs are extended and actively working, glutes and back muscles strongly contracting.
This pose may feel very intense at first – and it is. But that’s exactly the point: to wake up muscles that have been dormant for years behind a desk. Start with short holds, three to five second lifts, and gradually increase the time as your strength builds. If you find the full version too difficult, try lifting just the upper body first, with the legs staying on the floor – this half locust variation works the back muscles just as well but with less intensity. The point isn’t perfect execution, but regular practice.
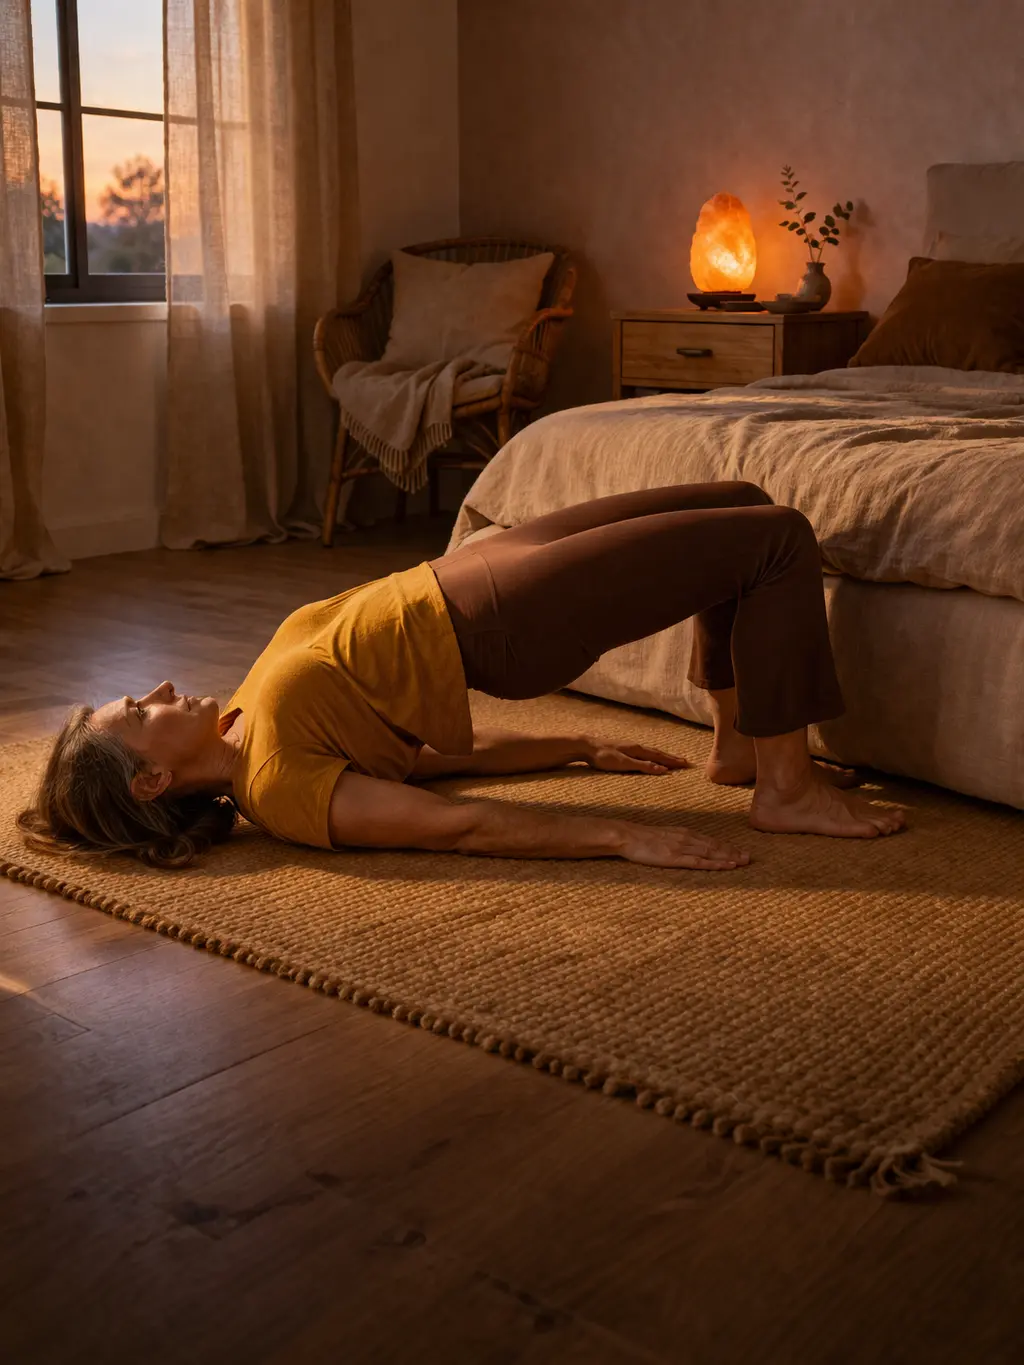
6. Bridge Pose (Setu Bandhasana) – Releasing the Hip Flexors
 Save it
The hip flexor muscles are modern life’s greatest victims and one of the most important factors influencing your posture. We sit for hours with contracted hip flexors, and this constant shortening pulls the pelvis forward, leading to excessive curvature of the lumbar spine. This is called anterior pelvic tilt, and it’s observable in almost everyone who sits eight hours a day. Bridge pose stretches this shortening while strengthening the glutes and back muscles.
Lie on your back, knees bent, feet on the floor hip-width apart, heels close to your buttocks. Arms alongside your body, palms down. On the inhale, lift your hips toward the ceiling; shoulders and crown stay on the floor. Weight is on the shoulders and feet, the neck is completely free – don’t turn your head right or left in this pose, as that can endanger the cervical vertebrae.
The point isn’t to lift your hips as high as possible, but to have your glutes actively working and your spine forming an even arc from your shoulders to your knees. If you feel tension in your lower back, you’re probably too high and your lower back is over-arching. Lower down a bit and focus on contracting your glutes. As you lift your pelvis, imagine your navel drawing toward your spine – this activates the core muscles and protects your lower back.
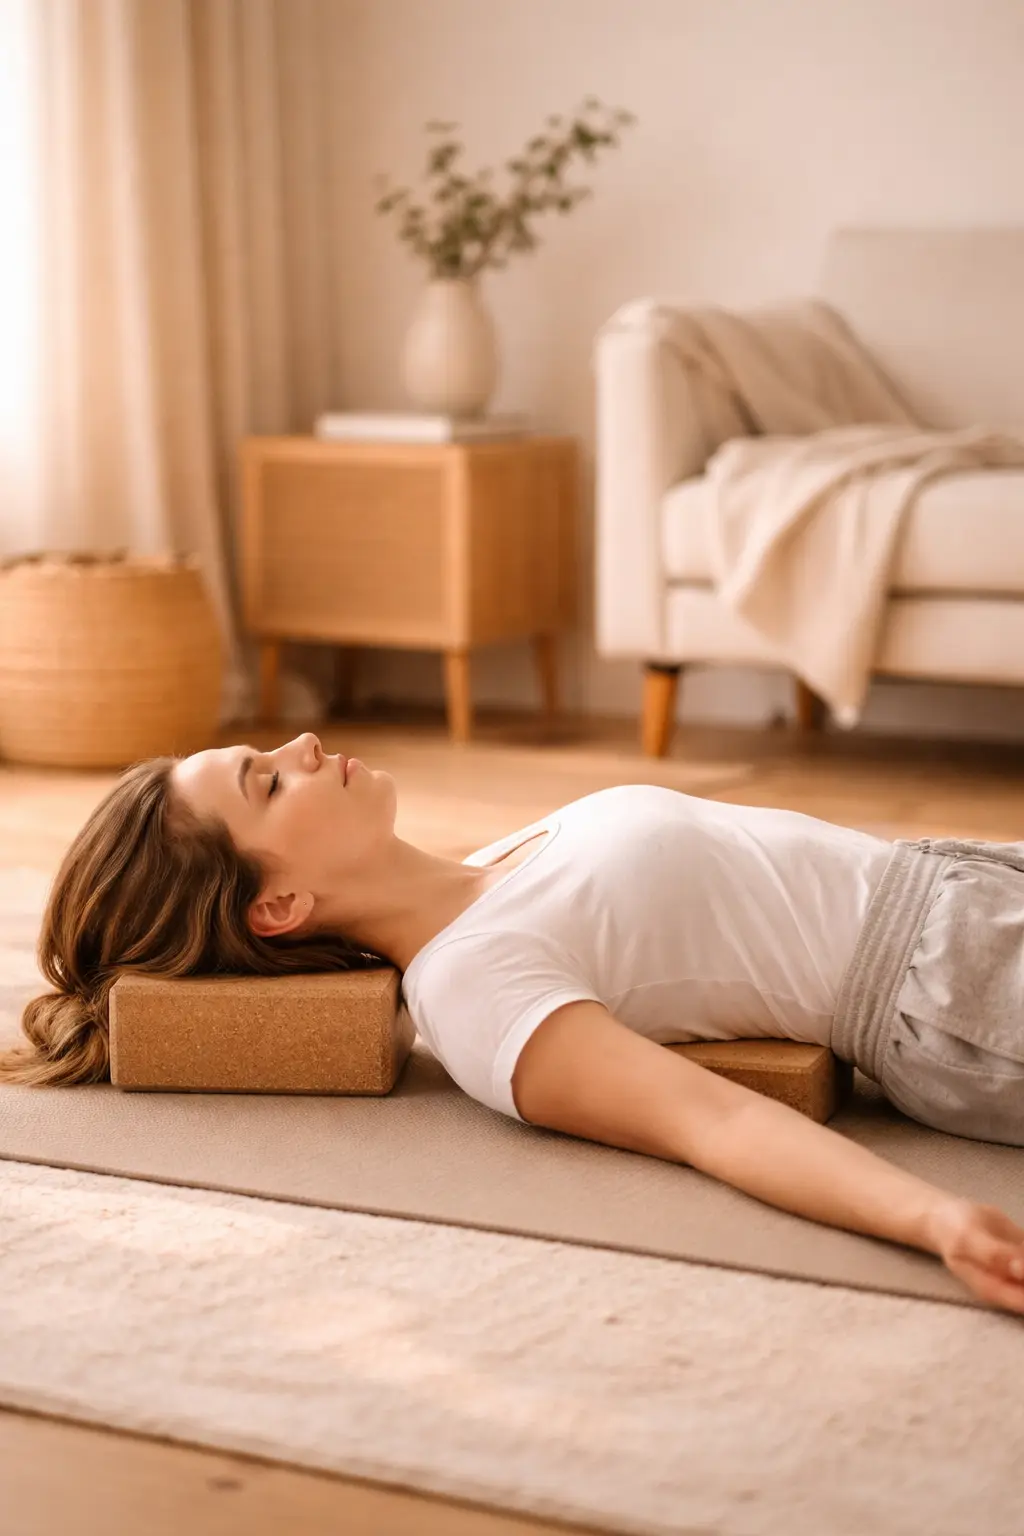
7. Supported Fish Pose (Matsyasana with Support) – Passive Chest Opening
 Save it
This pose is the perfect combination of rest and posture improvement, and one of my favorites among those I practice in the evening at the end of the day. The supported version allows you to stay in this position for minutes without actively working – gravity does the work for you, and you simply surrender to the stretch.
Place a yoga block under your shoulder blades, another under your head. Adjust the height of the blocks to your own flexibility – start with a lower setting and gradually raise it as your body opens. Lie back on them carefully, arms relaxed by your sides or overhead, palms facing up. Legs can be extended or bent, whatever’s comfortable. In this position, your chest naturally opens, your shoulders roll back, and the front of your neck gently stretches.
This is a pose you can do in the evening while watching TV or before bed – it doesn’t require concentration or effort. Five to ten minutes in this position works wonders against a tense chest and hunched shoulders. If you’re building a Feeling Stressed? Here’s How to Build a Relaxing Bathroom Retreat for yourself, this pose fits perfectly into your daily stress-relief routine, helping the transition from an active day into a restful night.
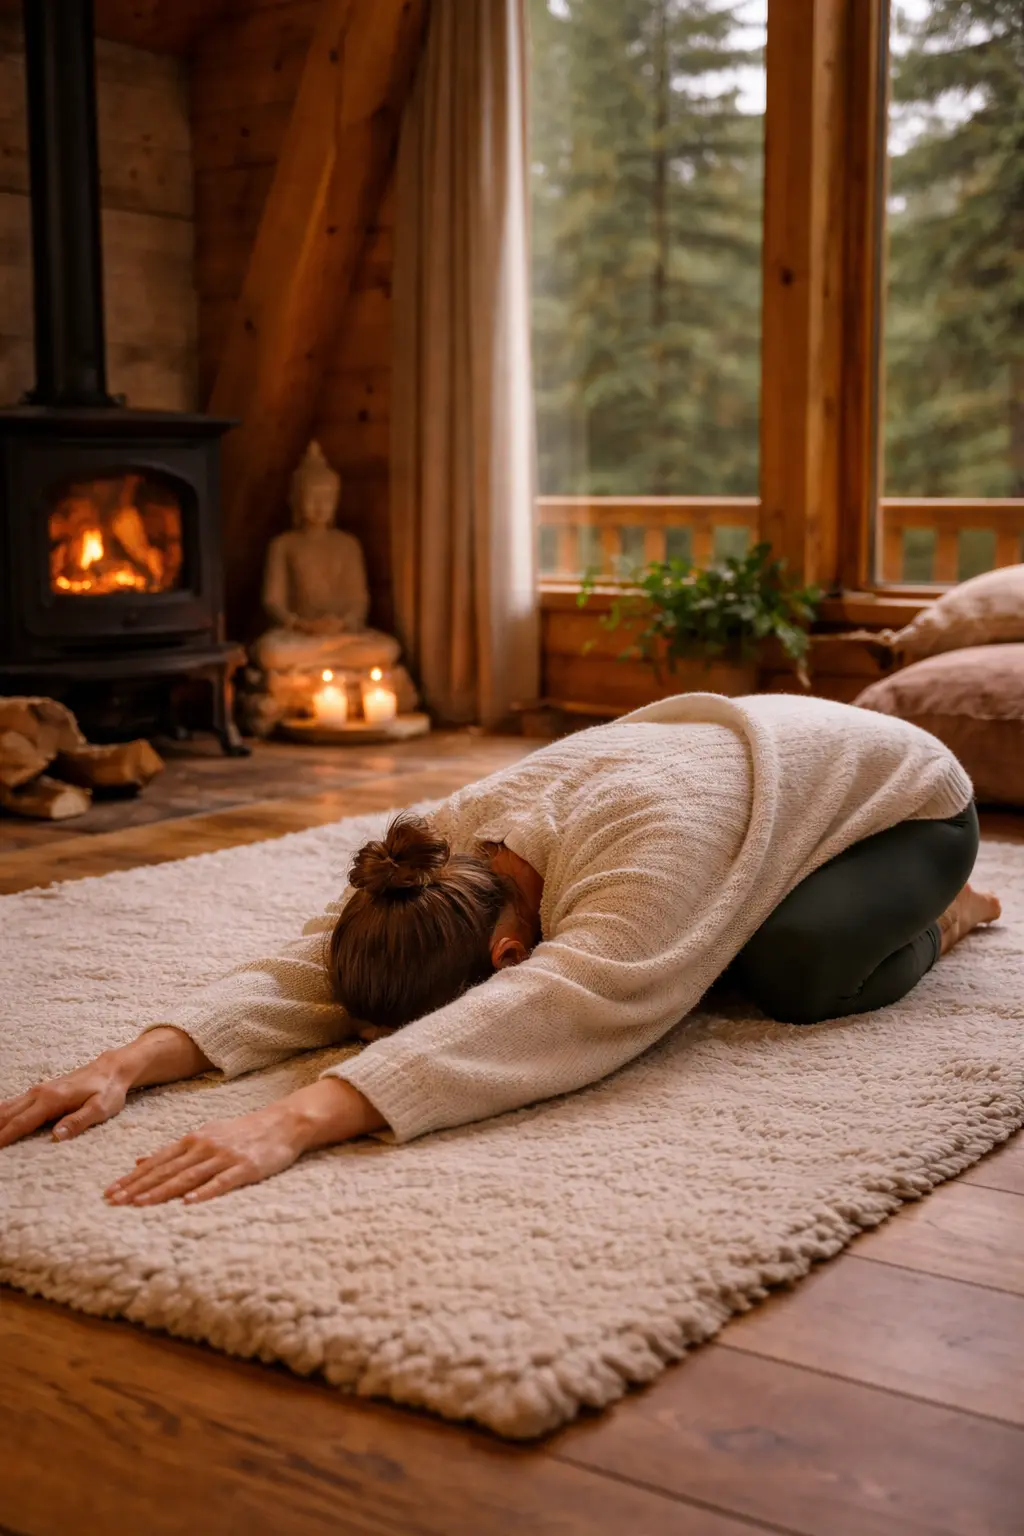
8. Child's Pose (Balasana) – The Art of Active Rest
 Save it
Child’s pose is the place you can always return to if posture-improving exercises feel too intense. But this isn’t just a resting pose – it actively stretches the thoracic spine and hips while calming the nervous system and giving your body a chance to regenerate. This pose connects physical practice with mental calm.
Kneel down, big toes touching, knees wide, about hip-width apart or even wider. Fold forward, resting your forehead on the floor, arms reaching forward beside your head or relaxed back alongside your body. Your hips sink toward your heels – if they don’t reach, don’t force it; your body will open over time. Your spine stretches in a long, even arc from the tailbone to the skull.
The most important thing here is breathing: when you inhale, feel your back rise and expand; when you exhale, let your body sink even deeper into the pose. This conscious breathing is what makes child’s pose more than a simple stretch – it’s active regeneration that harmonizes your body and mind. Use it as a rest between exercises, or practice it on its own when you need to calm your body and mind.
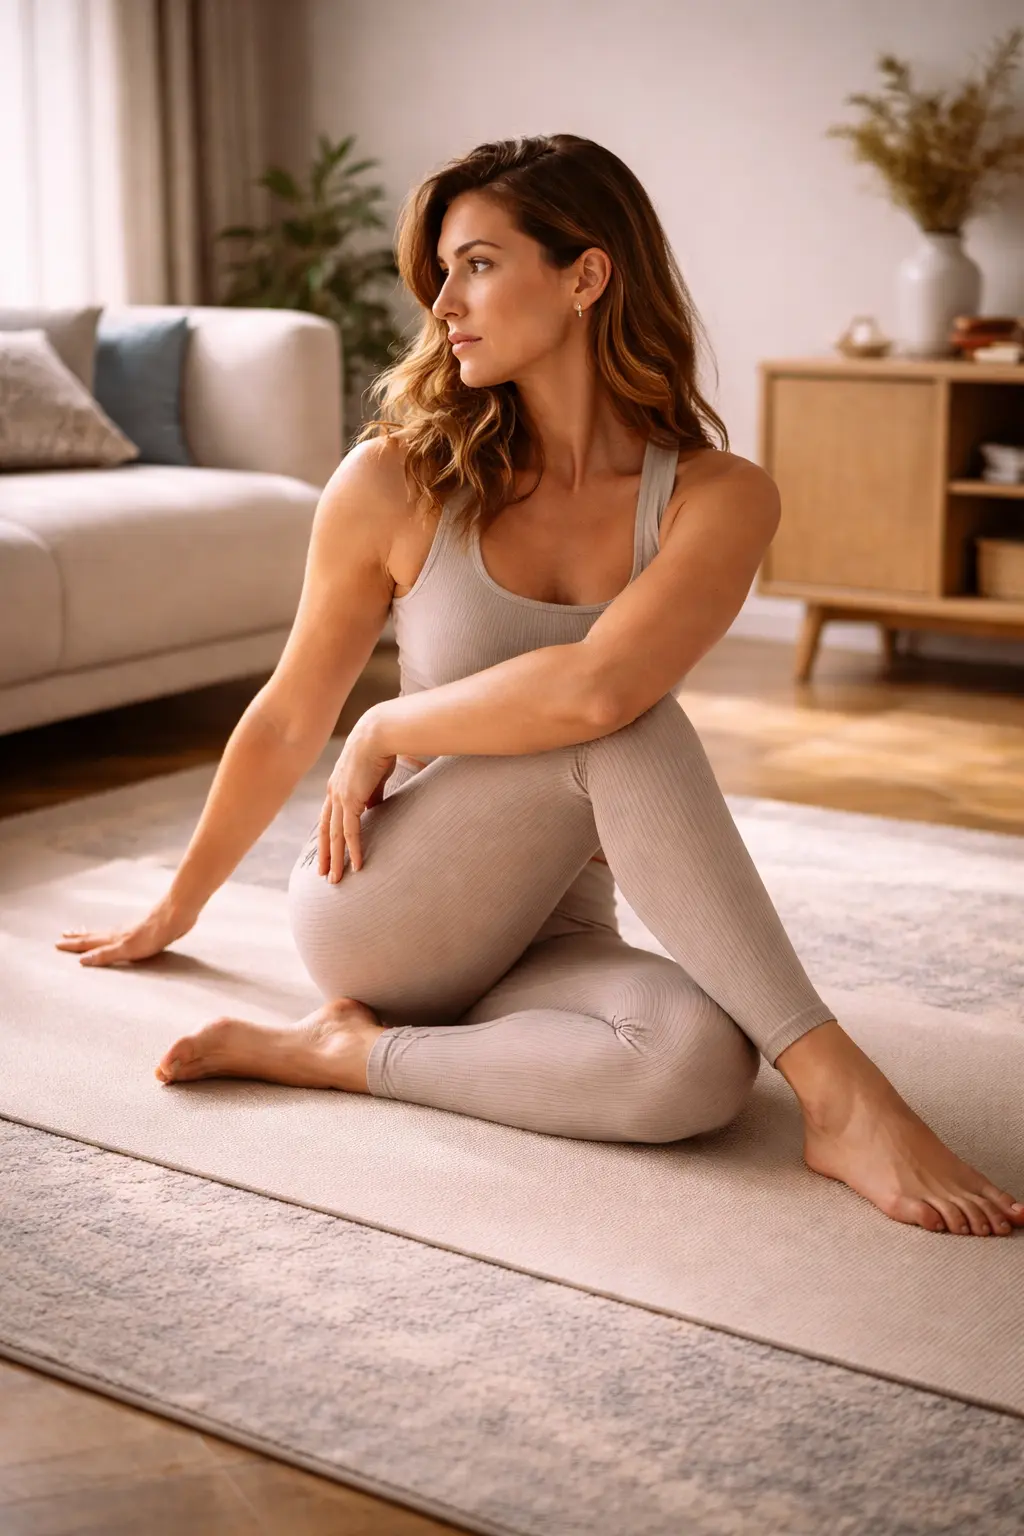
9. Seated Spinal Twist (Ardha Matsyendrasana) – Rotational Mobility
 Save it
The spine doesn’t just move forward and backward – rotation is also a fundamental part of natural movement patterns, and a healthy spine moves freely in all three planes. But modern life almost completely excludes this rotational direction of movement: we look forward, bend forward, hunch forward, and our spine forgets how to twist. The seated spinal twist brings back this lost dimension of movement.
Sit on the floor, legs extended in front of you. Bend your right leg and place the sole of your foot on the outside of your left thigh, close to the knee. Your left elbow rests against the outer edge of your right knee, your right hand is on the floor behind your torso, fingers pointing backward. On the inhale, lengthen your spine, draw yourself tall as if the crown of your head were reaching toward the ceiling. On the exhale, deepen the twist to the right, but don’t force it – let your breath guide you.
The twist comes from the thoracic spine – don’t over-twist the lumbar section or the neck. Your gaze turns in the direction of the twist, but the neck movement comes only at the end, as the finest adjustment. Your hips stay stable on the floor, both sit bones pressing the mat with equal weight. Hold the pose for five to eight breaths, then slowly return to center and repeat on the other side.
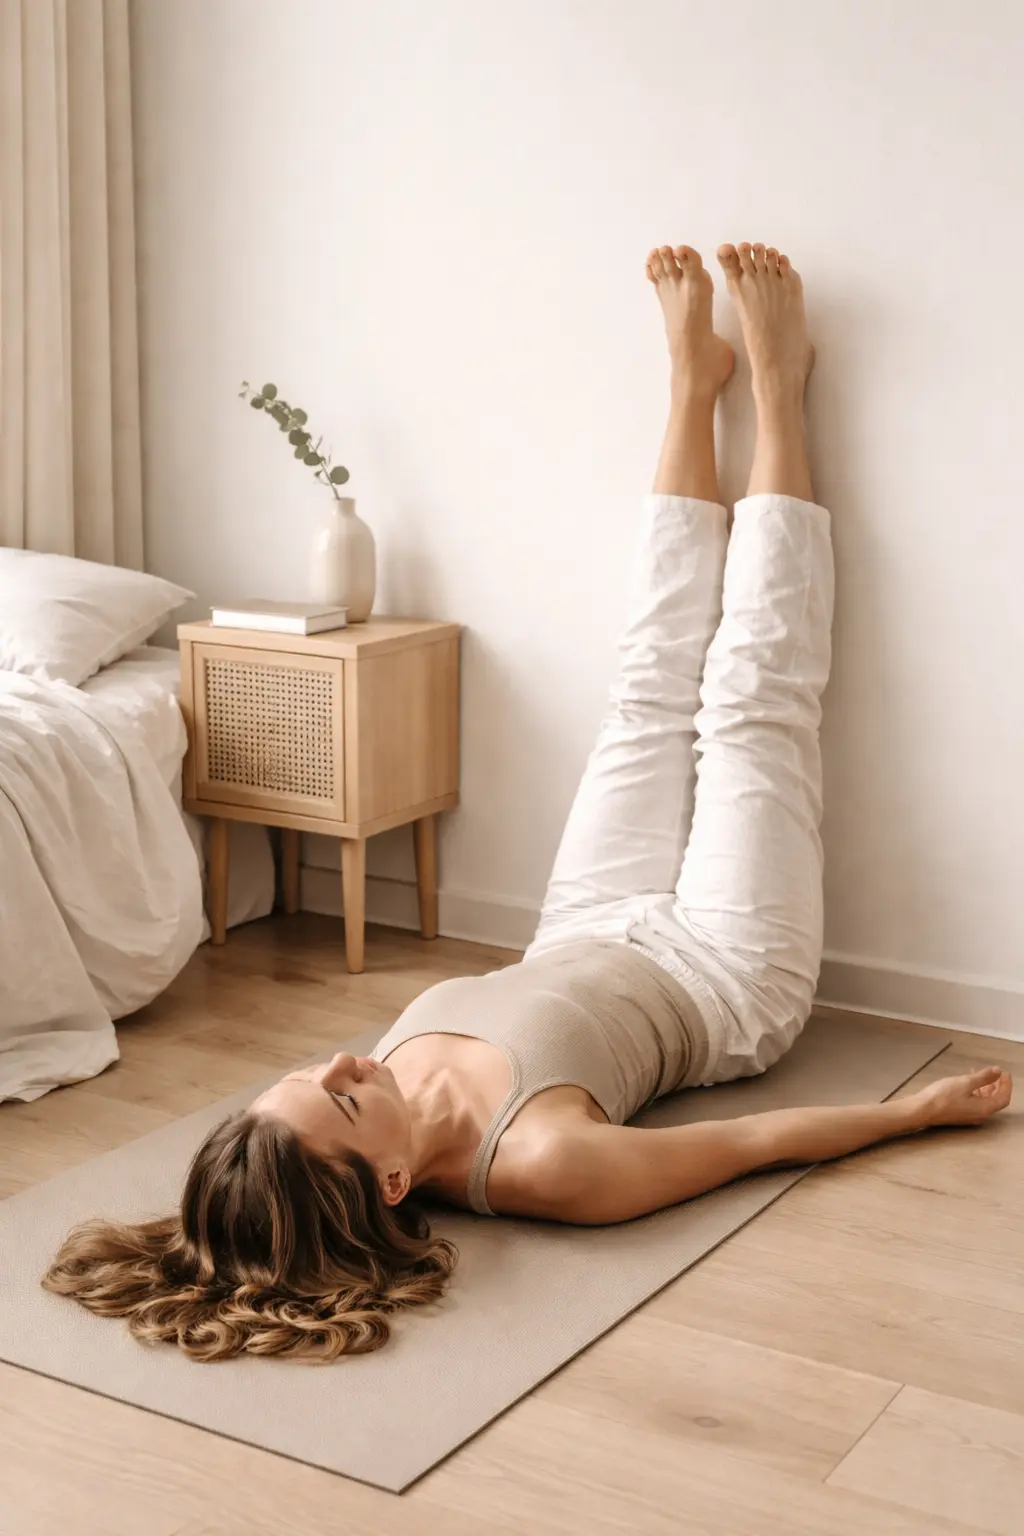
10. Legs-Up-the-Wall (Viparita Karani) – Gravity Reversed and the Closing Stretch
 Save it
This pose isn’t a traditional posture-improving exercise in the usual sense – but it’s still one of the most important tools in your arsenal and a perfect way to close your practice. Legs-up-the-wall helps muscle recovery, reduces swelling in the legs and lower back, and most importantly: it teaches your body what a neutral spine feels like when it doesn’t have to fight gravity.
Lie beside a wall, your bottom close to or touching the wall, legs extending up the wall. Your back lies flat on the floor, arms relaxed by your sides or extended overhead, palms facing up. In this position, your spine naturally settles into a neutral position – this is the reference point you’re seeking in all other poses. Stay in this position for five to fifteen minutes and allow your body to completely let go.
As a closing to your practice, this pose creates a transition from active work to rest. Before standing up, draw your knees into your chest and gently rock yourself right to left, massaging your lower back. Roll onto your right side and stay here for a few breaths before slowly sitting up. This conscious closing is part of the practice – don’t jump up and rush off; give your body time to process the work you’ve done.
How to Integrate These Poses into Your Daily Life
Improving posture isn’t a one-week project – it’s a lifestyle change achieved through small, consistent steps. The worst thing you can do is power through a two-hour yoga marathon on an enthusiastic weekend, then do nothing for two months. Your body doesn’t learn that way – it just gets exhausted.
The most effective approach is a layered routine. Start every morning with 5 minutes: cat-cow and child’s pose to wake up the spine. During the day, once an hour, stand up and hold a 30-second mountain pose – this is the one movement nobody will notice, but you’ll feel the difference. In the evening, before bed, supported fish and legs-up-the-wall help release the day’s tension.
Your weekend practice can be longer and deeper: that’s when you can work on locust pose, bridge, and twists. But the weekday micro-practices are what really make the change – because those are the ones you actually do, not just plan to do.
As for equipment: you don’t need much, but what you need should be quality. A non-slip yoga mat is essential, a block or two for supported poses is indispensable, and a yoga strap is particularly helpful for stretches if your flexibility doesn’t yet allow full range of motion.
Common Mistakes That Will Set You Back
One of the biggest traps in posture-improving yoga is that it seems so simple – and that’s exactly what leads most people to practice incorrectly. The following mistakes are the ones most commonly made, and they not only fail to improve posture but can actually make it worse.
1. Holding your breath during challenging moments
When a pose is challenging, the first instinctive reaction is to hold your breath. This is the worst thing you can do. Held breath tenses the muscles, raises blood pressure, and prevents your body from releasing. In every pose, breathing comes first: if you can’t breathe evenly, you’re too deep – come back to an easier variation.
2. Arching through the lower back instead of opening the chest
In cobra and bridge poses, most people over-arch the lower back because that’s where the greatest range of motion is. But the goal isn’t to overload the lumbar spine; it’s to open the thoracic section. The lower back moves minimally – the work happens between the shoulder blades and in the chest.
3. Progressing too quickly to harder variations
The internet is full of advanced poses, but these aren’t for you until the basics are solid. A baby cobra is more effective than a poorly executed full cobra. A half locust is worth more than a cramped, tense full locust. Progression should be organic: you advance when the current variation feels easy, not when it feels boring.
4. Passively stretching muscles without active engagement
Most posture-improving poses aren’t simple stretches but active muscle work. In downward dog, your hands actively press the floor; in locust pose, muscles pull the body up – not momentum. If you don’t feel mild fatigue in the targeted muscles, you’re probably not working actively enough.
5. Lack of consistency
This is the biggest mistake, and the easiest to avoid. Five minutes of daily practice is worth more than one single hour-long session per week. Your body needs time to adapt and learn new patterns. This is a matter of weeks and months, not days. If you persist, the results are guaranteed – but there’s no shortcut.
Frequently Asked Questions
How long until I see results in my posture?
Most people notice the first changes after 4-6 weeks of consistent 10-15 minutes daily practice: shoulders feel less tense, back hurts less at the end of the workday, and it becomes easier to maintain correct posture without conscious effort. Lasting, deeper changes stabilize after 3-6 months. The key is not to expect immediate results, but to notice the continuous, small improvements.
Can I do these poses if I already have spinal problems?
It depends on the nature of your problem. For general tension, mild back pain, or postural irregularities, these poses can be particularly helpful – but always start with the easiest variations and listen to your body. For diagnosed herniated discs, vertebral slippage, or other structural problems, definitely consult a doctor or physical therapist before starting practice. Certain poses, especially backbends, may be contraindicated for specific conditions.
What’s the best time of day for posture-improving yoga?
Both times of day have their advantages. In the morning, the spine is stiffened from the night, so gentler movements like cat-cow and child’s pose are ideal for waking up. In the evening, the body is more flexible but more tired, so passive stretches like supported fish and legs-up-the-wall work best. The most important thing is to choose a time you can actually stick to – consistency outweighs all other factors.
Do I need equipment, or is the floor enough?
You can start on the floor, but proper equipment makes practice safer and more comfortable. A non-slip mat protects your knees and wrists and provides a stable base for standing poses. Yoga blocks are essential for supported poses and help fine-tune body positioning. A yoga strap helps those with limited flexibility during stretches.
Final Thoughts
Your posture didn’t deteriorate in one day, and it won’t heal in one day either – but every single day you step onto the mat, you get one step closer to the version of yourself who stands straight, moves confidently, and doesn’t constantly battle back pain. These poses aren’t complicated, they don’t require acrobatic skills, and you don’t need to do them for hours for them to work. What’s needed is consistency and patience.
Start with the simplest thing: tomorrow morning, before you head to work, spend five minutes on cat-cow and a mountain pose. Don’t try to do everything at once – pick two or three poses and practice them until they become part of your body. Then add a new one. And another. Change builds like this, layer by layer, day by day.
Your body is capable of more than you think – you just need to give it the chance to show you. And that chance waits at the edge of your mat every day, every single time you decide that yes, today you’ll take that small step. Your future self, who sits with a straight back, moves without pain, and stands confidently in the world – they’re already waiting for you. You just have to start walking toward them.
This post contains affiliate links. I may earn a small commission at no extra cost to you.
Get cozy inspiration delivered to your inbox.
✓ 14-page beautifully designed ebook
✓ Cozy decorating ideas
✓ Practical room-by-room inspiration
You’re in! 🎉
Thanks for joining the NestFlowHome community!
Your free ebook is already on its way to your inbox. If you don’t see it within a few minutes, please check your Promotions or Spam folder.
Join the NestFlowHome community for weekly decorating inspiration.

Timeless home decor ideas and slow living inspiration for a calm, beautiful life.